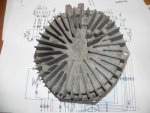
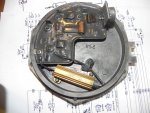
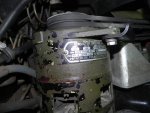
I should have finished my post sooner, but better late than ever

I took the Voltage Regulator off in situ, which proved to be a waste of effort. I used a camera to see what it was like inside the rear of the Alternator and it was just black with carbon dust. So removed the Alternator and took it home for a good examination.
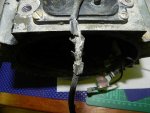
The brushes were worn quite a bit, the brush holder was misaligned and the cable coming out of the Stator block was chewed up quite a bit. The photographs below shows the rear of the Alternator after vacuuming a lot of the loose carbon dust and the chewed up cable.
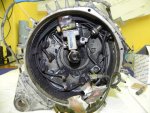
The rest of the carbon dust was removed with a vacuum and a small paintbrush. I had to remove the silicone sealant so I could un-solder and replace the chewed cable. When the sealant had been removed I could see the sealant had reacted with the three Stator wires as in the next photograph. A special silicone sealant needs to be used which is non reactive/corrosive, normal sanitary sealant is not suitable.
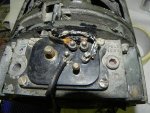
I un-soldered the three Stator wires and used some adhesive lined heat shrink tubing to cover the individual Stator wires. then re-soldered them and the new cable. Then I used Dow Corning 744 RTV to encapsulate all four terminals. I struggled to get new brushes, but got hold of a Brush Kit, with that I fitted new brushes, springs and the brush holder (making sure it was correctly aligned). I made a little sanding former to profile the new brushes to the shape of the slip rings.
I connected the Voltage Regulator, fitted the Alternator to my Humvee and started her up. Whereas the voltmeter had always jumped around a little bit, before sporadically jumping into the red zone every now and then, it was now as solid as a rock in the green zone

. Measured 27.8v across the battery with the engine running, a fraction low but I'll wait until I know the battery is fully charge and the brushes have bedded in fully before adjusting the voltage regulator.
Happy days!


