- 5,637
- 382
- 83
- Location
- Spring Branch, TX
Cleaned the troop seat hardware up a little bit yesterday and then shot it with a good dose of Kroil to loosen them up. At that point I had to install them just to see how they looked and worked - perfect.
Today keith_j cleaned them up with a braided wire wheel and shot on a coat of primer. We'll be painting most of the final parts tomorrow as it's supposed to rain Friday so want to get it in before then.
While we were working in the shop my dad called so I walked outside to talk as the compressor was running. While I was standing there on the phone next to my M101A1 I noticed that the stakes for the side racks on the trailer were the same channel as that on the M37 (I had a small piece that some of the seat parts were still attached to). Already have someone checking to see if they have any laying around that I can fab into stakes for the truck.
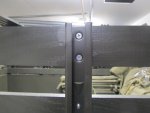
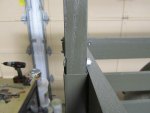
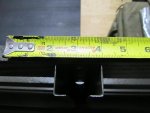
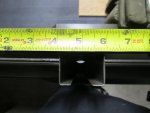
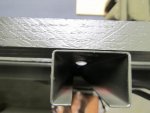
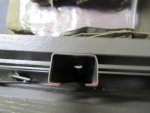
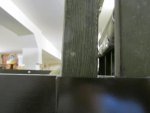
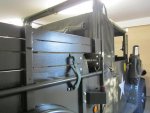
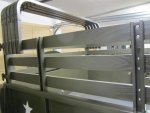
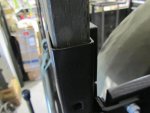
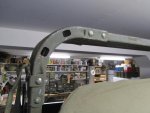
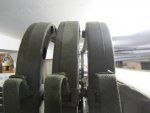
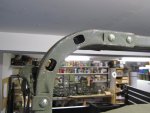
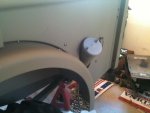
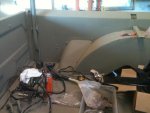
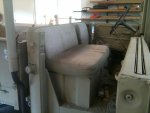
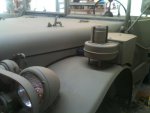
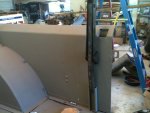
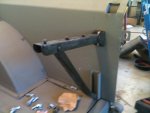
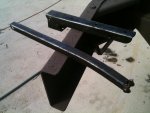
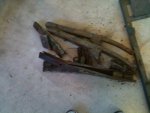
Here's a couple shots of the troop seat hardware:
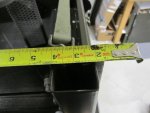
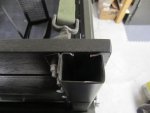
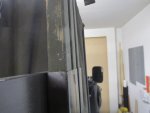
1) pile of rusty bits
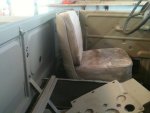
2) cleaned, lubed, and on the truck in stowed position
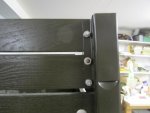
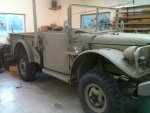
3) open position
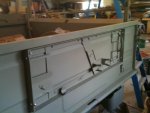
4) after wire wheel
Today keith_j cleaned them up with a braided wire wheel and shot on a coat of primer. We'll be painting most of the final parts tomorrow as it's supposed to rain Friday so want to get it in before then.
While we were working in the shop my dad called so I walked outside to talk as the compressor was running. While I was standing there on the phone next to my M101A1 I noticed that the stakes for the side racks on the trailer were the same channel as that on the M37 (I had a small piece that some of the seat parts were still attached to). Already have someone checking to see if they have any laying around that I can fab into stakes for the truck.
Here's a couple shots of the troop seat hardware:
1) pile of rusty bits
2) cleaned, lubed, and on the truck in stowed position
3) open position
4) after wire wheel
Attachments
-
 48.9 KB Views: 29
 -
 40.9 KB Views: 31
 -
 55 KB Views: 29
 -
 42.7 KB Views: 29