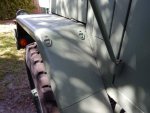
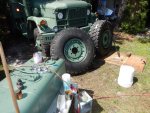
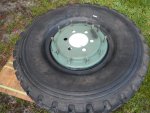
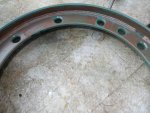
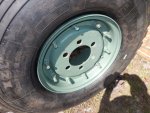
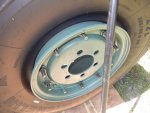
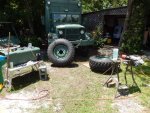
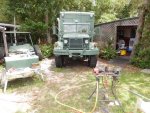
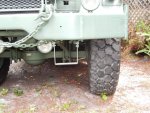
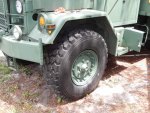
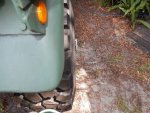
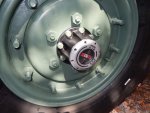
Whew, TIRED today. Mounted my new tires and got them on the truck. What a job. Next time I think I'll summon some help. Ugg. Too much weight for this old man to wrestle around. Getting the tires on the wheels wasn't too bad, used some bead sealer on the new o rings and anti seize on the wheel mating areas to keep them from rusting together. The biggest problem was getting the beads to seat so I could air them up. The wheels are 11" wide and the beads on the tires were 7" wide at rest. If I had a bead blaster it would have been cake. As it was, it was rotten pie for awhile. First I tried to use a ratchet strap to squeeze the tire, no luck. Then tried starting fluid and lighting it, not. Then charcoal fluid, nothing. Pulled out all of the stops and used gasoline ( kids don't try this at home ) , just about burned up my tire. So after warming my lawn chair for a bit, I figured I try something that wouldn't work. Tada, it did. I used bead sealer on the inside bead and with the wheel supported off of the ground, I placed one of the old wheel o rings in the wheel just outside of the tire bead. Started airing it up, and it did. The o ring rolled under the bead as it moved out to the wheel lip. I'm hoping that it all rolled out, seems to have, no leaks so far, and boy did I check for leaks. So got both to seat and then for the fun part, getting them on the truck. Pulled the 11.00's off and without too much effort, was able to get the 365's on. I think they helped the looks of the truck a good bit. Should be better off road too with the increased flotation. Hoping it doesn't adversely affect the steering. Cycled the steering and to the right it is a tad closer to the steering arm than before, and closer than I like. Previously adjusted the steering stop for clearance. May have to again.


 40 KB Views: 39
 38.8 KB Views: 40
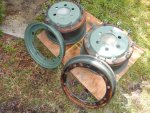 101.4 KB Views: 39
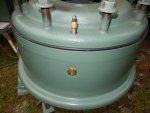 46.8 KB Views: 43
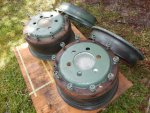 97.8 KB Views: 39
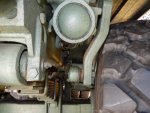

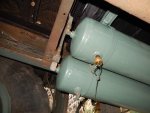
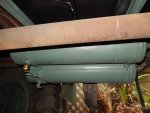
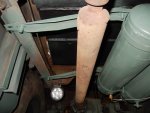
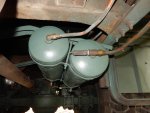
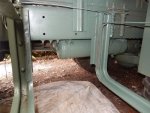

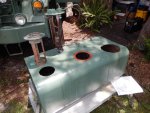
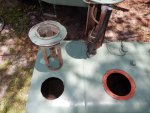
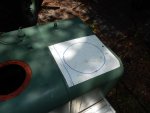
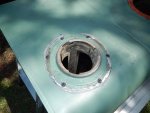
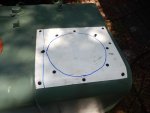
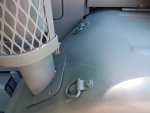
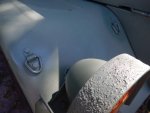
 Also swapped the auxiliary fuel tank filler to the other end of the tank. Cleaned out the sludge and tested the intank pump. Runs well and pumps a high volume. Installed a patch plate over the old filler location.