srodocker
Well-known member
- 6,549
- 70
- 48
- Location
- Lacey, Washington
Man forgot about this build! Love seeing you work on this thing. Keep up the good work!
Steel Soldiers now has a few new forums, read more about it at: New Munitions Forums!


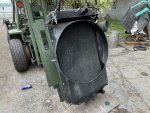
Glad you stopped in to look! It's starting to get good!Man forgot about this build! Love seeing you work on this thing. Keep up the good work!
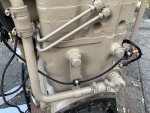

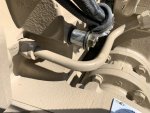
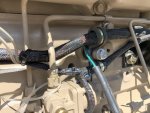

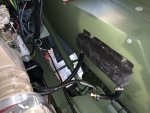
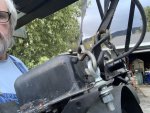
I'm not sure what this means? Any input?Looking good Artisan! I like your attention to detail and the clean routing of the harness.
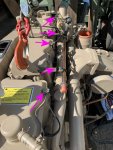
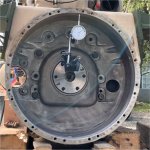
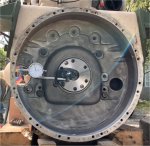
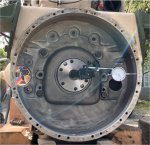
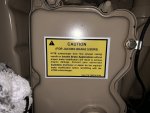
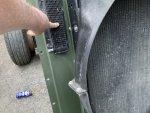
For the curious, like myself, could you please post a close up picture of that Jake brake warning label on your rear valve cover? I'd like to know what it warns about.

That’s one of many things on my To-Do list for my 920.
Great job Brad, looking better than new so far!