- 3,163
- 4,764
- 113
- Location
- Olympia/WA
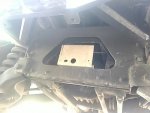
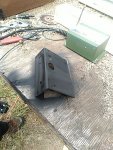
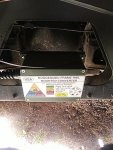
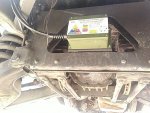
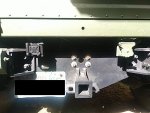
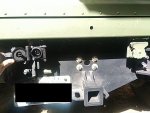
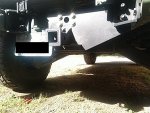
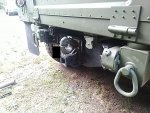
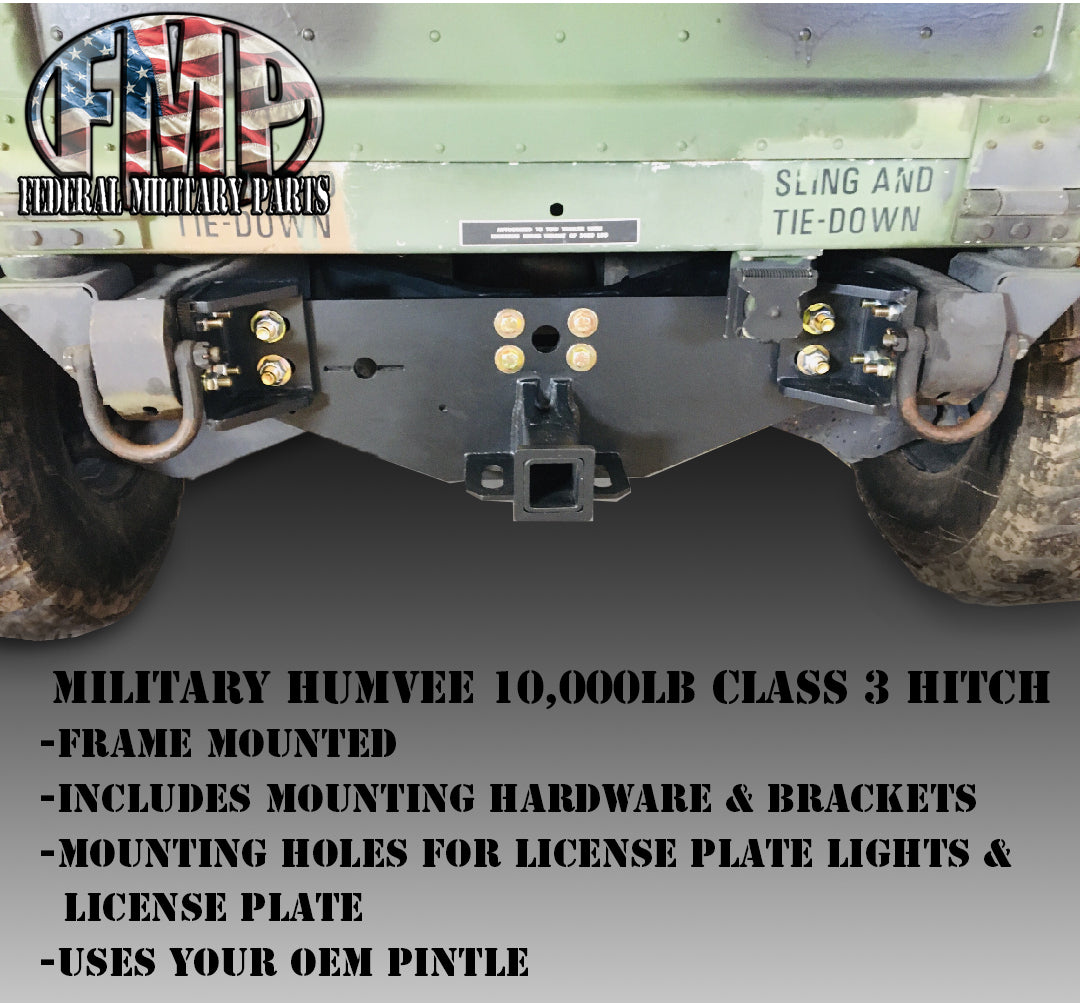
A couple days back I installed the Federal Military Parts class 3 heavy duty 2" receiver I picked up from another member here who decided to go a different route. Doesn't work with airlift bumper, which is fine with me, as I don't have one. Got it installed and was waiting on the other parts to be able to tow civilian trailers with it.
link to hitch:
 www.federalmilitaryparts.com
(note for the link, the description of what you receive and the text in the pictures of what you receive are 2 different things. The pictures all say the license plate wiring/light are included, the description says it does not, and it was not included. Another note, there are no instructions included, and I got more bolts and washers than are in the pictures, but I finally figured it out)
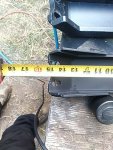
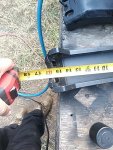
a link to the hitch. I hit a snag with my truck (M1123) that I have a thicker rear crossmember where the pintle bolts to (2" thick), so I don't have a bracket on the front side. I have one on order and hope to get it in a week or so.
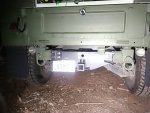
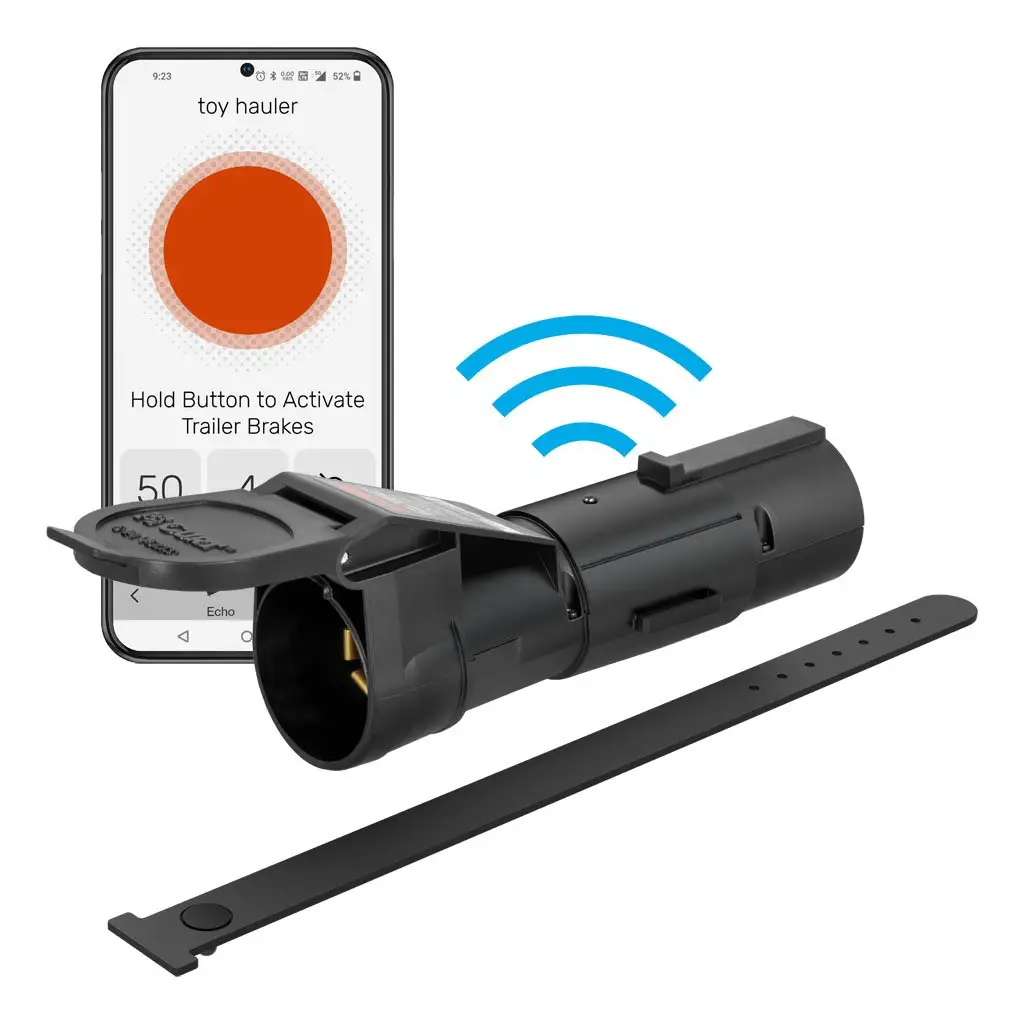
So as I mentioned in the "what did you do to your HMMWV today" thread, I found a trailer brake controller that will work with 24V trucks towing trailers with 12V electric brakes.

 redarcelectronics.com
This is a 2 part controller, a control knob/button and the actual controller unit are separate. makes for a much smaller impact on space/visibility.
The controller isn't sealed, so I wanted to put it as high as possible. I ended up deciding to put it above the pedals and steering. Fortunately the Redarc controller can be installed in any orientation, as long as it's solidly mounted.
I found a clear space under the dash, and nothing on the opposite side, so set it on the accessible side in order to mark and drill the holes needed. I used some 10-32 (I think) self tapping screws 1/2" long I had left over from another project (can't remember if they were from the windshield on the HMMWV or housing of the MEP802A)
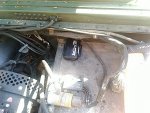
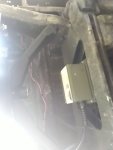
Here it is installed on the opposite side of the bulkhead from the first picture. Camera is looking straight up from the driver's floorboard, tucked way up out of the way. The pigtail is facing the front of the truck, right towards a grommet. (wires not put through the grommet yet)
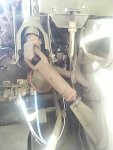
I used a Posi-Tap to tap into the brake light wire. I used a multimeter to make sure this was the side activated by the switch (I still need to adjust the switch to come on sooner)
(I ordered from ebay, but here is a link for the Posi-Taps I used, they barely fit on the wire)

 blackdogcustoms.com
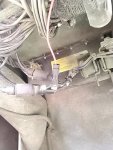
These next two are how I ran the other three wires. The white wire is ground, so I put it straight to the supplemental harness ground on top by the cadillac valve. The other two are power and brake, power comes from a breaker in the battery box, brake wire goes straight back along the frame to the rear of the truck.
I considered just running the power lead to the generator as there is the large 24V cable off of it, but decided that I'd rather minimize the movements of wires and connectors, especially before the breaker was wired in, and there was nowhere nearby to secure the breaker to the engine.
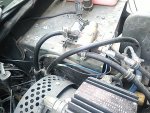
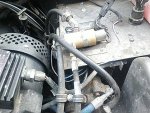
(I don't show it here, but using 1/4" stiff pex tubing with the wire run inside of it makes running the wires a breeze. Just push the wire through, then bend over the end so it doesn't come out, and slide it wherever you want)
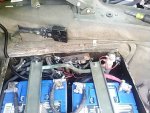
Here we have the breakers I installed in the batter box. Pollak 30 amp breakers. The front breaker is for the controller, the second one is wired to 12V for trailer accessories. I have the 200 amp generator so shouldn't be an issue. I just preferred to wire the brake controller for 24V to keep things simple/minimize 12V draw. (I shortened the studs on the rearward breaker as they stuck out quite a ways, and they are much longer than needed for only one or two wires.)
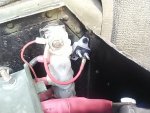
Here is the knob installed between the start switch and the windshield hinge. Very minimal, and has a multicolor LED to let you know what's going on.
1/4" lower would have been better, I had to oversize the top hole I drilled in order for the piece behind it to fit properly as there is a second piece of metal behind the first right at that spot and towards the top.
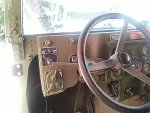
That's it for the moment, my XM381 converter got delayed in shipping so I can't finish wiring everything up until tomorrow when it's supposed to get here.
link to hitch:

Frame Hitch - Class 3 - No Drilling To Install - Ultra Heavy Duty 10,0
You are purchasing the original Federal Military Parts ULTRA HEAVY DUTY (UHD) frame mounted, Class III hitch for HUMVEE. It is used in conjunction with the standard pintle hitch that is already on the military HUMVEE. With this design, you can choose to pull a pintle style trailer at the proper...
 www.federalmilitaryparts.com
a link to the hitch. I hit a snag with my truck (M1123) that I have a thicker rear crossmember where the pintle bolts to (2" thick), so I don't have a bracket on the front side. I have one on order and hope to get it in a week or so.

So as I mentioned in the "what did you do to your HMMWV today" thread, I found a trailer brake controller that will work with 24V trucks towing trailers with 12V electric brakes.

Tow-Pro Elite Electric Brake Controller
The award-winning Tow-Pro Elite is suitable for both 12 volt and 24 volt vehicles and is the only brake controller on the market that offers two types of braking options in one dash mounted unit.
This is a 2 part controller, a control knob/button and the actual controller unit are separate. makes for a much smaller impact on space/visibility.
The controller isn't sealed, so I wanted to put it as high as possible. I ended up deciding to put it above the pedals and steering. Fortunately the Redarc controller can be installed in any orientation, as long as it's solidly mounted.
I found a clear space under the dash, and nothing on the opposite side, so set it on the accessible side in order to mark and drill the holes needed. I used some 10-32 (I think) self tapping screws 1/2" long I had left over from another project (can't remember if they were from the windshield on the HMMWV or housing of the MEP802A)

Here it is installed on the opposite side of the bulkhead from the first picture. Camera is looking straight up from the driver's floorboard, tucked way up out of the way. The pigtail is facing the front of the truck, right towards a grommet. (wires not put through the grommet yet)

I used a Posi-Tap to tap into the brake light wire. I used a multimeter to make sure this was the side activated by the switch (I still need to adjust the switch to come on sooner)
(I ordered from ebay, but here is a link for the Posi-Taps I used, they barely fit on the wire)

OEM Posi-Tap™ Military Wire-Tap Connectors | 12-18 Gauge - Black Dog Customs
OEM Posi Tap™ Military Wire-Tap Connectors: The Posi Tap™ wire-tap connectors are the only Military approved Wire-Tap Connectors. Included is an option of a package of 10 or 20 Posi Tap™ 16-18 Gauge Wire Tap Connectors. Details: Tap: 12-18 ga. | Accessory: 12-18 ga. Benefits of Wire-Tap...
 blackdogcustoms.com

These next two are how I ran the other three wires. The white wire is ground, so I put it straight to the supplemental harness ground on top by the cadillac valve. The other two are power and brake, power comes from a breaker in the battery box, brake wire goes straight back along the frame to the rear of the truck.
I considered just running the power lead to the generator as there is the large 24V cable off of it, but decided that I'd rather minimize the movements of wires and connectors, especially before the breaker was wired in, and there was nowhere nearby to secure the breaker to the engine.


(I don't show it here, but using 1/4" stiff pex tubing with the wire run inside of it makes running the wires a breeze. Just push the wire through, then bend over the end so it doesn't come out, and slide it wherever you want)
Here we have the breakers I installed in the batter box. Pollak 30 amp breakers. The front breaker is for the controller, the second one is wired to 12V for trailer accessories. I have the 200 amp generator so shouldn't be an issue. I just preferred to wire the brake controller for 24V to keep things simple/minimize 12V draw. (I shortened the studs on the rearward breaker as they stuck out quite a ways, and they are much longer than needed for only one or two wires.)


Here is the knob installed between the start switch and the windshield hinge. Very minimal, and has a multicolor LED to let you know what's going on.
1/4" lower would have been better, I had to oversize the top hole I drilled in order for the piece behind it to fit properly as there is a second piece of metal behind the first right at that spot and towards the top.

That's it for the moment, my XM381 converter got delayed in shipping so I can't finish wiring everything up until tomorrow when it's supposed to get here.
Last edited:


