Keith_J
Well-known member
- 3,657
- 1,328
- 113
- Location
- Schertz TX
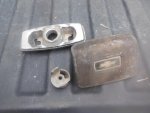
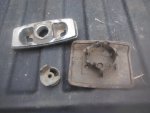
I've repaired a few of them. Far better than the MTD models in design. AYP are a bit better than MTD.Things are really hot and dry here. I saw a groundhog sneaking around and drinking water out of the chicken feeder and then it was eating the scratch grain. It was 94* in the barn semi-shaded. View attachment 873961 View attachment 873962 I worked on my Honda tractor. This is a well-built machine that has served me well for the past 30 years. Water cooled 2-cylinder OHC and sounds like a car when running. View attachment 873963The deck was stuffed and packed with grass and the blades need sharpened. I keep an extra set-in stock at all times. View attachment 873964 Not bad for an old tractor. View attachment 873965 I was going to punish myself and run to Lowes for some wood in the M1028 but changed my mind quickly when I remembered no A/C. I drove the Trail Boss. Take Care and Be Safe.