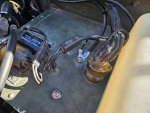
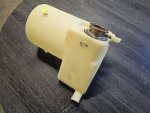
Time for another update... A big thanks to Camo, for helping me with the AM General coolant surge tank.
I was going to buy an aluminum tank and be done with it. But, the AM General surge tank allowed me to save a little money right now and it certainly helps.
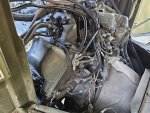
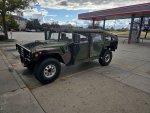
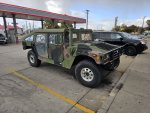
So, the truck is back on the road. In fact, it just crossed over the 500 mile mark, since I started my testing.
In that time, I've met a few surprises and have had to overcome some fueling issues.
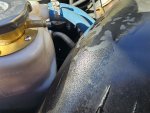
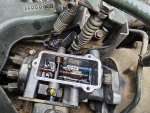
That being said, I finally got to removing the top cover of the IP. Since, I had already drained the tank multiple times, have all new injectors, and soft fuel lines. I wish I would have done this earlier. Because, it has some growth build up that is less than pleasant.
So, I spent nearly the entire day, cleaning it out and extracting the fluids.
Then, filled it up with clean diesel and went along my way.
Now, I am running biocide, alongside injector cleaner in my fuel tank.
This is due to the engine bogging down under load from putting the transmission in gear.
I've been able to mostly overcome it, by raising the idle up.
But, it hasn't really gotten any better. Nearly everything seems to point towards the fuel metering valve, inside the IP.
I took a before picture. But, of course forgot to take an after picture.
Next week, I will remove the IP cover and show what it looks like after a week of driving it again.
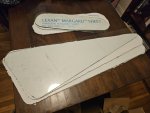
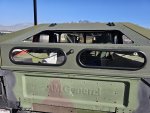
Got most of the windows in. The final rear window arrives any day and I plan to cut it as fast as possible, to get it in the truck. It is starting to get cold out and I want to be warm in the truck.
Time for a new dog house seal and whatever I can do to seal the cab away from the engine.
I have an exhaust leak on the passenger side and it is time to investigate that also.
Lastly, the little clip that holds the rod on my brake switch, to the brake pedal has come off.
So, it looks like I am without brake lights, until I get another clip, or find a different solution.
One side of the rod has a hole drilled, with a clip through it. I thought to myself, why not just do that and be done with it. We will see....
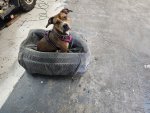
Bonus: I have been trying to adopt a pup. So, wish me luck that I get a Humvee navigator to ride along with me.