Ironhorse
Member
- 100
- 0
- 16
- Location
- Central DE
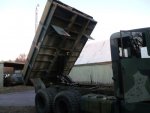
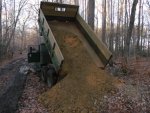
[FONT="]I bought a dump bed kit from C & C Equipment and thought I'd go through the installation. This kit was originally made for trailers so the factory instructions are rather generic. Longer hydraulic hoses have been included by C & C but you will need a set of battery cables.[/FONT]
[FONT="]First remove the trailer light plug bracket and pioneer rack from the bed. Then remove the ten bed mounting bolts.[/FONT]
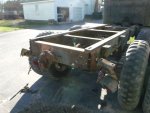
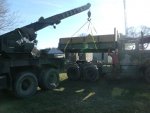
[FONT="]Using your M816, lift off the bed and set it aside.[/FONT]
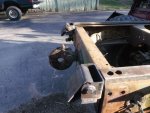
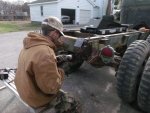
[FONT="]Remove the bumperettes and the rear shackle mounts.[/FONT]
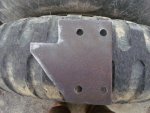
[FONT="]Position the hinges so the tops are level with the 3/4 in. wooden strip on top of the frame and the bottom flange extends approx. 3/8 in. outside the frame rail. The wood strips will eventually be replaced with steel. Using the bumperettes or 3/8 in. plate steel, make a pair of brackets that support the outside of the hinges. Bolt the brackets and tail lights in place. Weld the hinges to the rear cross member and the brackets. Reinstall the shackle mounts by turning them over and having your lackey drill two new holes in the cross member.[/FONT]
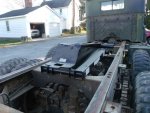
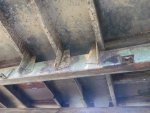
[FONT="]Place the hoist so the mounting flanges are on the doubled cross member. I had to trim about 1/2 in. off each flange so it would fit between the frame rails. Square the hoist to the frame and weld.[/FONT]
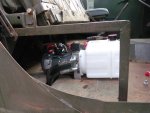
[FONT="]Mount the pump under the passenger seat and, using one of the knockouts in the floor, route the hydraulic hoses back to the cylinder. Make up new battery cables as the ones included in the kit will not work. IMPORTANT: The pump is 12 volts, connect accordingly. Fill the reservoir with oil and play with...uh, I mean, verify that the hoist works.[/FONT]
[FONT="]Insert the pivot plates into the topside of the hoist and reinstall the bed. I needed to remove a center rib and notch two cross members on the bed for clearance. Weld the bed to the hinges and the pivot plates, install the prop bar, hit it with some paint and grease and go dump something![/FONT]
Attachments
-
58 KB Views: 996
-
70.9 KB Views: 998
-
67 KB Views: 929
-
66.3 KB Views: 1,054
-
65.9 KB Views: 1,048
-
54.7 KB Views: 997
-
52.4 KB Views: 994
-
62.3 KB Views: 1,043
-
47.8 KB Views: 1,176
-
71.3 KB Views: 1,016


