HanksDeuce
Well-known member
- 1,087
- 264
- 83
- Location
- Prairieville, LA
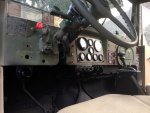
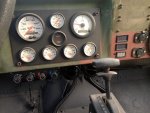
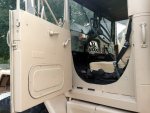
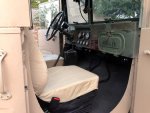
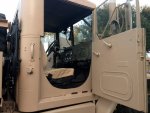
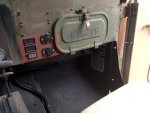
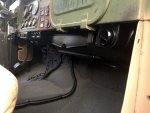
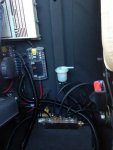
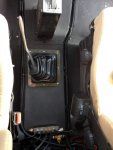
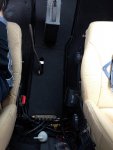
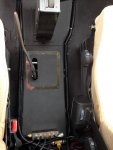
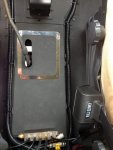
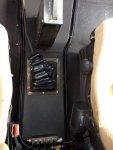
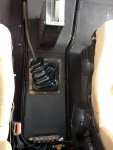
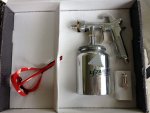
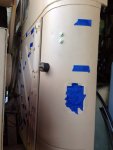
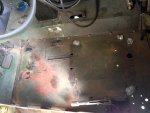
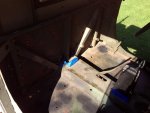
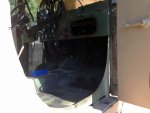
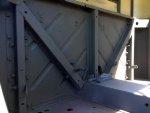
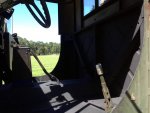
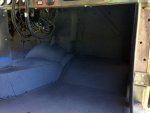
Here are a few pictures of the preparation and completion of the 2 Lizard Skin coating systems inside the cab. This was completed before the Vintage Air A/C was finished. I will upload all of the final A/C pictures tomorrow.
Comments:
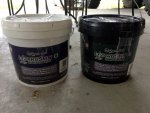
- Lizard Skin Sound Control was put down first. Then 24 hour cure.
- Lizard Skin Ceramic Insulation was put down next. Then 24 hour cure.
- Air pressure was regulated at the gun to 60psi when the trigger was pulled.
- Make sure you adjust the gun tip to a wide spray pattern. Small circle will take forever to empty the gun pot.
- I did not use the 90 degree tip. That's mainly for inside fender wells. I only sprayed the inside of the cab.
Comments:
- Lizard Skin Sound Control was put down first. Then 24 hour cure.
- Lizard Skin Ceramic Insulation was put down next. Then 24 hour cure.
- Air pressure was regulated at the gun to 60psi when the trigger was pulled.
- Make sure you adjust the gun tip to a wide spray pattern. Small circle will take forever to empty the gun pot.
- I did not use the 90 degree tip. That's mainly for inside fender wells. I only sprayed the inside of the cab.
Attachments
-
 48.2 KB Views: 54
 -
 56.3 KB Views: 53
 -
 42.3 KB Views: 59
 -
 60.2 KB Views: 61
 -
 49.7 KB Views: 58
 -
 40.9 KB Views: 61
 -
 40 KB Views: 65
 -
 46.1 KB Views: 59
 -
 48.5 KB Views: 68
 -
 42.7 KB Views: 62