DeucesWild11
Active member
- 1,265
- 12
- 38
- Location
- Putnam County, NY
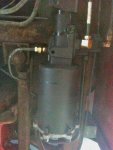
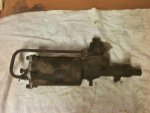
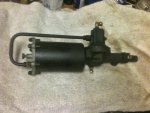
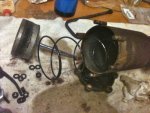
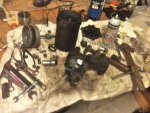
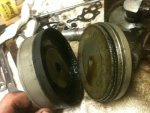
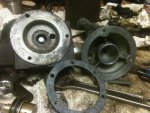
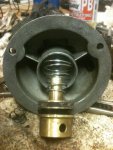
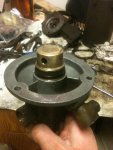
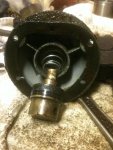
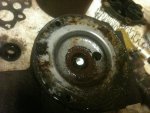
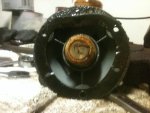
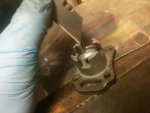
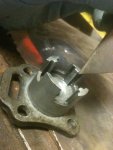
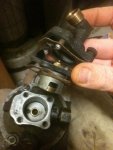
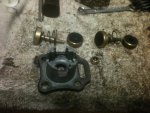
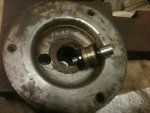
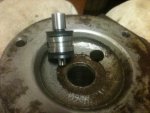
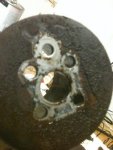
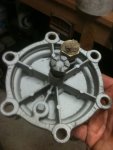
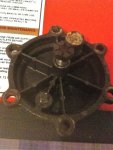
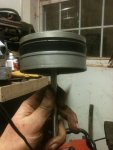
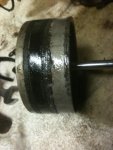
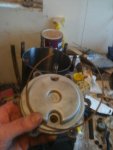
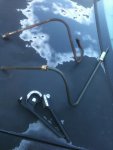
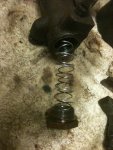
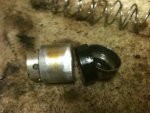
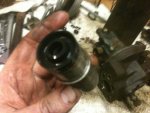
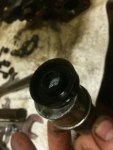
So here is my airpack rebuild. There have been other posts out there but I took allot of pics and thought I would post all the info I have learned in one place. I wanted to show it visually so you can actually see the parts in it. I have learned so much on this site it’s time for me to give back something useful.. For me the rebuild was not that bad considering.. I broke one air line and one brake line getting it off just because it was that badly rusted. Easily replaced with stock sizes from an autopart store. Once I had it on my workbench the fun started.
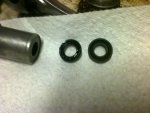
First off what you need. Get the TM 9-2320-209-34-2-1 Instead of telling you the section which could get confusing it’s pages 569-608 of the pdf of this TM. Also take a look at the Correction that I listed in the attached pics. This mentions the difference in the seal size for the piston cup seal vs. pushrod seal. I didn’t have any confusion here as I took pics of it as I took it apart and put it back together the same way. The seals didn’t seem that similar to me. I bought my rebuild kit from Eriks for $108, Sure beats $500 for a complete airpack and for that price it was worth a try if I messed it up.
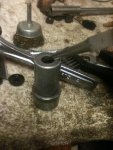
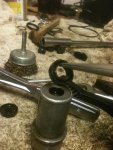
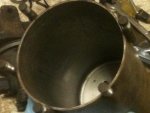
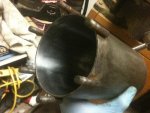
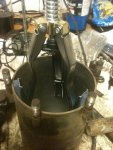
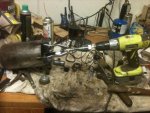
Tools you need. I used a plumbing torch to heat up some bolts that didn’t easily free up. That worked out pretty well. I purchased two cylinder hones, from NAPA, one for the air cylinder Part # BK 7769220 $22.50 and one for the pushrod tube BK 7769223 $12.60. Now looking at the site you can get a three pack on Cylinder Hones BK 7769227 for $26.10.. Argghh! You may also be able to get away with some fine grit sand paper and steel wool but for $26.10 that’s not a big investment.. I also used a small wire wheel on my drill to clean up some pieces as well. Also used some Honing Oil on the two hones when honing the cylinders. I am sure 3 in 1 oil would work fine too. Also some basic tools to have around, crescent wrench, socket set, needle nose pliers. Oh yeah and get a small pipe bender from an auto part store if you plan on replacing some break or air lines it’s a lifesaver! I also used my Sandblast booth to clean up the parts on the outside.
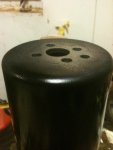
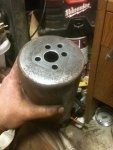
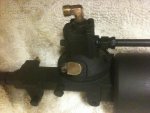
I don’t think there is a wrong way to take apart the Airpack but going by the TM would help. I started with the large Air Cylinder and worked my way across. The Air Cylinder piston will push out when you have all the nuts off the back as it is under slight pressure with the big spring in the cylinder. That was the only PITA thing that I was dealing with when putting back together. All else was pretty easy if you have Patience.. I took my time with it and did it in about two weeks. I was in no rush, I am sure you can do it in a weekend but it may not look as pretty as mine.. ha ha.. I painted it with a Rustoleum Rust Reformer primer from and then painted flat black to match my truck.. The aluminum end I left unpainted, thought it would look cool.
I am going to try and post all before and after pics next to each other for easy comparison.
Hope this helps you if you plan on doing the rebuild! Remember PATIENCE!!
Attachments
-
76.8 KB Views: 1,148
-
62 KB Views: 1,091
-
62.1 KB Views: 1,119
-
255.5 KB Views: 851
-
79.9 KB Views: 1,256
-
88.2 KB Views: 1,334
-
67.1 KB Views: 1,227
-
75.3 KB Views: 1,236
Last edited:



 Thanks for taking the time to put these up.