Quick update:
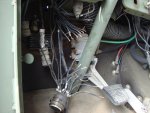
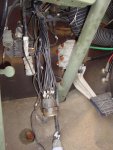
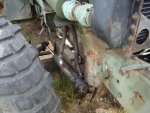
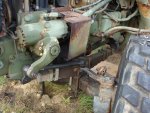
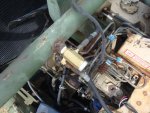
I spent most of the day at Winslow's yesterday working on wiring and steering issues. The biggest wiring issues were a cut off headlight switch plug and a cut off front-clip plug. The headlight harness had 12 wires to chase down and the front harness had 8! What a mess! I made a couple of charts to help me trace the wires and had copies of the wiring schematics with me. All connections were soldered and covered with heat-shrink for longevity. The wires had salt corrosion under the insulation so all connections had to be sanded with emory paper before the solder would stick! Ack!! Many of the wires didn't just go to one place so that complicated things. It would have been pretty easy if the front harness connector wasn't cut because 4 of the wires ran there and could have been identified by the pin in the connector. Oh well, at least it is done. I didn't have the proper connector for the front-clip so I just tagged all of the wires for later use. The only thing left to do is wrap the harness in tape, but I am going to make double sure it works first!!
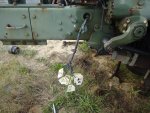
The steering required a good, used drag link to be swapped in since some bone head beat on the threaded end to get it loose and mangled the whole thing. I broke out the 3/4" drive socket set and retrieved one from a parts truck. Then, one of the pressure lines going to the PS ram had a cut in it so I got one from a parts truck to replace it. The system is now complete. All I need to do is jack the front end up, fill the system, start the engine, and crank the wheel to bleed the air out. I was going to do it this time, but ran short on daylight.
Anyone have a parts truck with a good front clip plug on it? I need one please!
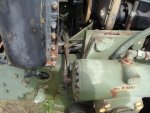
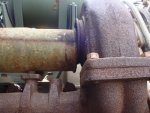
Will Wagner, the turbo pic is for you. That is the flange design. I also need the gasket which is PN 20511420. Thanks!!


 89.7 KB Views: 147
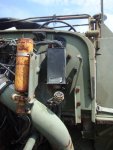 66.2 KB Views: 147
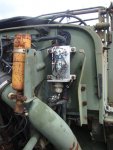 70.3 KB Views: 148
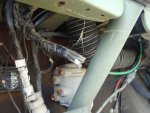 69.4 KB Views: 147
 71.7 KB Views: 169
 77.8 KB Views: 179
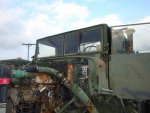 61.9 KB Views: 174
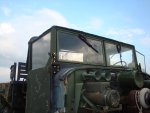 49.5 KB Views: 184
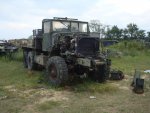 81 KB Views: 195
")