• Steel Soldiers now has a few new forums, read more about it at: New Munitions Forums!

  • Microsoft MSN, Live, Hotmail, Outlook email users may not be receiving emails. We are working to resolve this issue. Please add support@steelsoldiers.com to your trusted contacts.

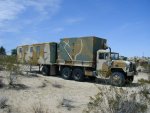
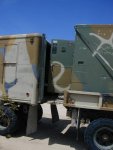
My M796 Work Trailer/Camper Build

LowTech

Member
Steel Soldiers Supporter
887
15
18
Location
Arizona
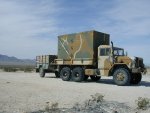
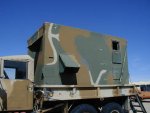
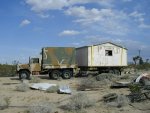
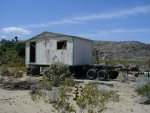
Finely found a shelter to use as the live-in box on this trailer. Hauled it back to base camp and started the removal of anything left in it.

14-02-20 (1).jpg

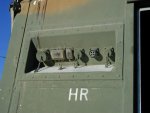
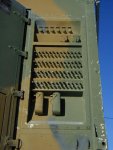
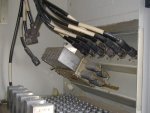
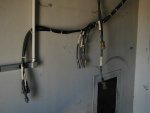
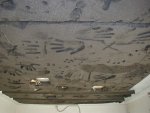
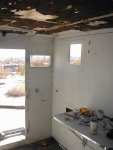
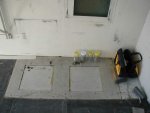
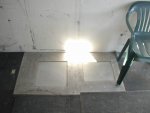
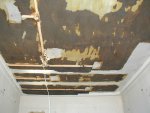
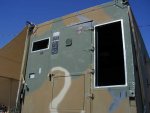
The shelter it self is in decent shape (only minor fork damage ;) ). The inside still had some of the electrical interface, comm's interface, some cables and the channels that they run in. Other than that it was empty, except for that foam on the ceiling.

P1191025.jpg P1191024.jpgP1091019.jpg P1091022.jpg14-01-19 (4).jpg

As you can see, someone(s) had loads of fun making hand shapes in the foam.
 
Last edited:

LowTech

Member
Steel Soldiers Supporter
887
15
18
Location
Arizona
The one thing that I was a bit concerned about w/ living inside a shelter was the lack of windows.
I knew that I could cut some out, frame them in, get the right size windows, etc. :-/
The first time I was inside of this one, while everything was closed, I knew it wouldn't be long before I would be feeling like I was in some loony bin. The pale white walls and that there wasn't anything I could hurt myself on really added to that feeling ;)

Fortunately This shelter already had 4 openings. 2 were hooded vents, 2 were hook up vents for the Enviro unit.
14-03-06 (1).jpg

Add to that the opening where the AC interface was, and eventually where the comm unit interfaces, and I'll have 6 opening. I'll prob use 5 of them for windows. The last one I'll use for a hook-up panel. Some place that I can tie in shore power, LP, and water.
14-02-10 (2).jpg

I also have multiple blind nuts in both the floor and walls.
Being that I'm not a fabricator my designing tends to be based on what I've got to start w/. So I'm hoping to use as many of them as I can for the build-in.
14-02-10 (5).jpg 14-02-10 (6).jpg
 

LowTech

Member
Steel Soldiers Supporter
887
15
18
Location
Arizona
Removal Time

I pulled the power unit out (as you can see from the last post) and started w/ the foam.
It didn't take me long to relies that my little paint scraper wasn't going to do the trick. Spent 20 mins w/ it and a hammer to take of a small section :-/ After thinking about what would work as a bigger scraper I came up w/ one of my always-on-hand tools, . . . a square shovel B-)
Some time scraping and I got it down to this.
14-02-10 (4).jpg

Whatever was used as adhesive is not going to give up it's hold on the alum very easy.
 

LowTech

Member
Steel Soldiers Supporter
887
15
18
Location
Arizona
I did actually get a paint stripper disk for my angle grinder, tested it on a section and will prob go w/ that.

Great minds . . .
 

LowTech

Member
Steel Soldiers Supporter
887
15
18
Location
Arizona
Right after all that I had a course that I wanted to take over in the `Zona. So I threw some camping gear in the shelter took off for a quick trip, 2 days going, 3 days there, 2 days coming back :)
Now that I had all my crap in the shelter, and wasn't in a hurry to get it out, It was time to start mod'ing the trailer.

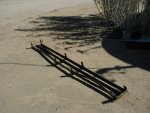
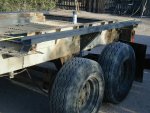
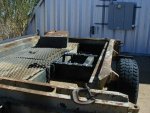
First up was to get rid of a bunch of bent up metal and bits that I wasn't ever going to use.
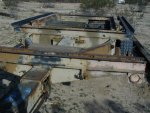
Had a buddy torch off the pieces on the top that held the portable bolsters (I think it might have been a waste of time, they didn't come off like I'd hoped and I'm prob going to take the rest off w/ a grinder).

At some point I'm wanting to continue the expanded all the way across, and I'll prob use those spaces in the framing for some tanks.
14-03-12 (2).jpg

The bent up ramp storage frame,
14-03-12 (3).jpg

This is the part I like, when it starts getting built.
I had spent loads of time measuring, thinking, measuring some more, . . . thinking some more . . .
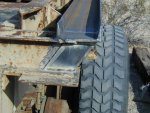
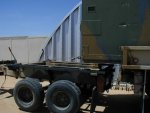
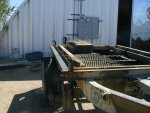
Ended up deciding that I needed to add some channel on both sides for the outside skids to ride in. These would also be the main support for some fenders when the big stuff is done ;)

W/o custom making some channel and going w/ stock sizes we were going to have about an 1/8" on each side of the skid. That's why we measured, and measured, and measured, . . .
14-03-12 (4).jpg

Both sides are welded up and waiting for a test fit.
I'll get some pics of the details when I get a moment 8)
 

LowTech

Member
Steel Soldiers Supporter
887
15
18
Location
Arizona
Mounting permanently would be too easy, I'll have to do something difficult 8)
If I had it mounted perm, then I would lose the workability of the trailer, . . . and I would have one heavy base for the shelter.
The plan is to fab some lifting legs and be able to stand it on & off as needed. That way I'll get two trailers in one. Hopefully that will let me thin my trailer fleet some. ;)

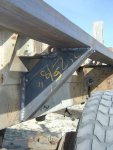
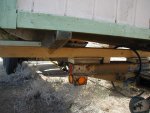
Here's some detail pics. First is the mid point support, the other is added supports that are in the front and rear. These are only partly mounted at this point. Next time I roll it to his place we'll hit it w/ the big welder and close those up.

14-03-23 (2).jpg 14-03-23 (3).jpg

How it's looking at the moment,

14-03-23 (5).jpg
 

LowTech

Member
Steel Soldiers Supporter
887
15
18
Location
Arizona
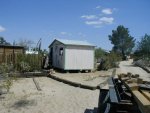
This is what's been holding up getting the shelter onto the trailer,

14-04-19 (10).jpg


I had to get this building moved before I could call it off-limits as a work trailer. Once I get the shelter on I'll be stuck w/ it that way until we fab up the lifting legs. Since I'll be rolling most of the summer I'm guessing that won't happen before Oct.
So this was the first (other than hauling the 16, 9', RailRoad ties) real work I got to do w/ it, and the last, . . . for now.

14-04-19 (1).jpg 14-04-19 (4).jpg 14-04-19 (13).jpg
14-04-19 (11).jpg 14-04-20 (4).jpg
 

LowTech

Member
Steel Soldiers Supporter
887
15
18
Location
Arizona
Got some wheels and tires. Finely it's on both axles. (this was before the building move)
Also primed the new metal.

14-04-23 (1).jpg

Then it was time to move all my camping gear out of it so that we could do the transfer w/ it empty.

14-04-27 (0).jpg 14-04-27 (1).jpg
 

LowTech

Member
Steel Soldiers Supporter
887
15
18
Location
Arizona
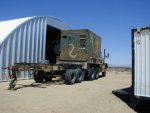
It's finely going to happen, I'm getting the shelter off the back of the Draggin'!!!
Been planning this for awhile and I think it'll be easy and smooth.

I roll over to a buddie's shop. He's been doing all the work on the trailer and today we'll see if all our measuring, and planning, and measuring, and measuring, . . . is spot on. We've got an 1/8" on either side of the skids when they're in the channel. If we have it right, and the skids are parallel, it'll set right in with no binding.
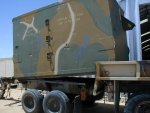
I drop the trailer and block it in place. Then move so that the tailgate of the truck is open and within inches of the trailer. I'm wanting the shelter door to be at the front when it's on the trailer, so this works out perfect.

14-04-29 (0).jpg

Some come-a-longs hooked to the bottom rings and we pulled the shelter out.
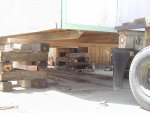
With the blocking out (that had been holding the shelter from sliding around in the bed) we were able to steer the shelter as it moved off the truck.
It actually tipped pretty slowly and we directed it into the channels easily. Then it was just pulling it forward till the last 8" were still on the bed.

14-04-29 (2).jpg 14-04-29 (5).jpg 14-04-29 (4).jpg

Now it was dropping the last of it off the bed. We checked everything a couple times and decided to go ahead with it. The only concern was whether the stops on the end of the shelter would catch on the edge of the tailgate, . . . it didn't.

14-04-29 (6).jpg

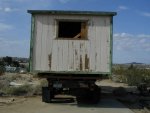
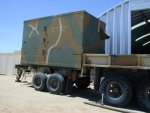
We looked it over, crawled under, and it looked spot on! All that measuring payed off :)
I strapped it on, marked it's placement (just wanted to see if it moved at all), and took it back to base.

14-05-07.jpg
 
Last edited:

Recovry4x4

LLM/Member 785
Super Moderator
Steel Soldiers Supporter
34,013
1,814
113
Location
GA Mountains
Very nice. Its amazing how much work can be accomplished with come-a-longs and a determined person.
 

LowTech

Member
Steel Soldiers Supporter
887
15
18
Location
Arizona
Nice, I'm following your build. You do good work, very impressed.
Thanks, . . . now quit smiling at me like that ;)

For me this is the frustrating part. I'm not a metal worker, I just see how I want it to be and then spend a bunch of time annoying my friends while they work :)
 

LowTech

Member
Steel Soldiers Supporter
887
15
18
Location
Arizona
I bet your deuce is happier now with a little bit of a weight lose on its backside!
The Draggin's pretty happy w/ that much weight in the back, . . . it's me. I get out running these dirt roads and tracks around here, then all of a sudden I'm like "chit my stuff is in the back!!!" Usually right after I hop it over some rut or ridge!

Now that we're back to it just having the "essentials" I can run a bit more relaxed ;)
 

LowTech

Member
Steel Soldiers Supporter
887
15
18
Location
Arizona
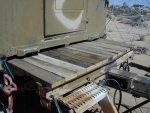
So first thing for me was to make a deck so that I didn't kill myself climbing up and down on the trailer.
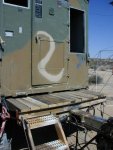
Had a bunch of wood that I'd resourced, so I made a short porch. :) After the basics are done I'll come back and make it so that it will slide out that extra 5' when I extend the trailer.

14-06-14 (2).jpg

Then the last of the comm stuff was removed. Another window for me :)

14-06-14 (3).jpg

I traded some plexy from a friend that I'll make into temp windows. Just something to keep the dust, wind, and rain out.
I'm planning real opening windows.

14-06-14 (1).jpg
 

RAYZER

Well-known member
3,380
58
48
Location
sanford/florida
I like what you did with this, great plan and setup!
How much does it weigh?
I would like to see a few pics of the awning setup.
Will you go basic or full blown on the interior and amenities?
 

LowTech

Member
Steel Soldiers Supporter
887
15
18
Location
Arizona
I like what you did with this, great plan and setup!
How much does it weigh?
I would like to see a few pics of the awning setup.
Will you go basic or full blown on the interior and amenities?
Thanks,
as far as weight, the trailer is data plated at just over 2 ton, The shelter is plated as 2 ton w/ all of the equipment installed. I'm guessing maybe 1 ton empty.

You're pretty good at asking me about things in the corners of my pics, guess I'll have to pay more attention to my cropping ;)
It's nothing, just the canvas off the She Beast. I ran a bit of pipe through the lifting rings and tied the shade to it. Now's the season here when shade is almost the most important thing. So now I have some place to work in the shade.
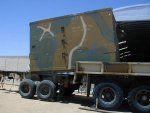
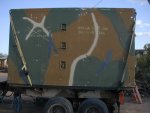
This is my home, so I'll be doing things that are the way I want them. I'll do some basics to start because I need to use it in a couple months and I only have small funds. As time goes on I'll be add things that I can't afford at this point, but I'll build it knowing that I'll be moving those things in. Somethings I have, like the solar panel (same as what the She Beast has) but won't install until I have some kind of tube cage around the shelter to mount it to.
 
Top