• Steel Soldiers now has a few new forums, read more about it at: New Munitions Forums!

  • Microsoft MSN, Live, Hotmail, Outlook email users may not be receiving emails. We are working to resolve this issue. Please add support@steelsoldiers.com to your trusted contacts.

Nebulous, M1009

tim292stro

Well-known member
2,118
41
48
Location
S.F. Bay Area/California
If you read the lengthy explanation, you'll see that in a 24V system the resistor draws the upper 12V and the glow plugs draw the lower 12V, so doing a resistor bypass on a 12V only truck actually results in the exact same draw on that lower battery's power.
 

cucvrus

Well-known member
11,473
10,433
113
Location
Jonestown Pennsylvania
I have my glow plugs hooked up as designed and if I just start it and put it in gear and take off my belts will squeal on occasion. I try to start it and wait but I am impatient and get going by the time the bendix quits spinning in the starter. Bang it starts and away I go. Hes gone.................
 

CUCVLOVER

Active member
Sorry it's been so long but I've been busy with other things. Finally found a local muffler shop who took on getting me mufflers and pipes. Ken Towery refused to do it; they'll not get any of my business in the future. Turned out to be a blessing as the guy is a veteran owned business and is well versed in CUCV workings
Why would the first place not do the job?
 

kkcshipp

Member
130
-1
16
Location
Elizabethtown, KY
I hope it was just me but I could not get the site to come up for the past 3 days. Lots of stuff completed but have the photos at home on my computer. Without photos I took the lead from someone here on the site and purchased M998 Seatbelts, brand new off of flea bay for $48. One small modification was opening a hole a little wider and then getting an L Bracket and for less than $50 total I have functioning 3-point, brand new seat belts. Thanks for whomever I read that at.

CUCVLOVER; the first place took one look at the vehicle and decided from looks I guess. It was a blessing in disguise though because the fella I got to work on it did an outstanding job and I could not be any happier. What was the Garth Brooks song, "Sometimes I thank God for Un-answered Prayers"? Will post some pictures tonight if I can get this site set up of what transpired on the 4 hours Saturday and Sunday I had to work.
 

nyvram

New member
115
1
0
Location
Franklin/TN
kkcshipp, how difficult was it to put in the M998 seatbelts?? Is there a FAQ or step-by-step you followed (I tried searching) or is it as easy as simply replacing the existing ones?
 

kkcshipp

Member
130
-1
16
Location
Elizabethtown, KY
Nyvram; very simple. I thought it was going to be difficult but the only modification you have to make is on the middle (spring action piece) of the 3 part harness. Two parts: 1) Enlarge the mounting hole of the middle part (where the belt springs back into the holding container) because the bolt is larger than the mounting hole in the CUCV (2) there is a small tab above the mounting hole that you'll need to measure and drill a small slot into the frame. This keeps the device from moving back and forth. It was very self explanatory when I got the pieces in the mail. Here is a previous thread from the "What have you done lately Part II" where I got the idea:

http://www.steelsoldiers.com/showth...ately-Part-1&p=1224383&viewfull=1#post1224383

kkcshipp, how difficult was it to put in the M998 seatbelts?? Is there a FAQ or step-by-step you followed (I tried searching) or is it as easy as simply replacing the existing ones?
 

nyvram

New member
115
1
0
Location
Franklin/TN
thank you! not sure what condition the belts will be in on the one we're hopefully (knock on wood) picking up thursday. i will be following up your thread with almost the same title, but yours looks to be in better shape than the one we're about to grab.
 

kkcshipp

Member
130
-1
16
Location
Elizabethtown, KY
Unless you pick up one where the previous owner changed them you are going to have to do it. Those seatbelts are/were 30 years old and looked 100 years old. Safety is my number 1 factor because my 17-year old drives to school in it everyday. The HMWWV ones are brand new, work like a charm, are black (which is what I'm turning the interior color to from brown), and safe. :-D
 

kkcshipp

Member
130
-1
16
Location
Elizabethtown, KY
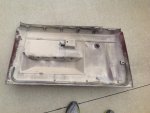
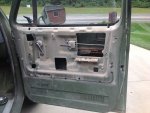
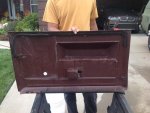
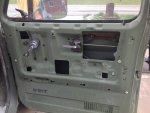
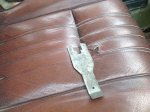
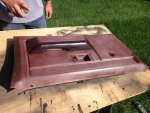
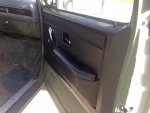
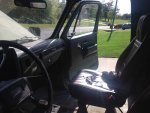
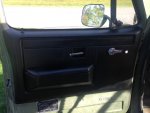
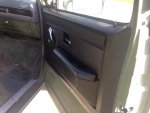
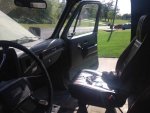
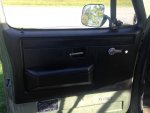
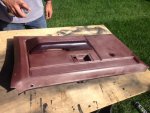
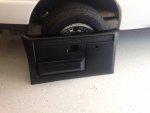
Something wrong with my COMCAST account not letting me open this site. I'm using another account. Took off the door panels to clean and eventually paint black. wanted everyone to see what was behind the doors and then what cleanup does for it. First pic is inside of door panel (Desert storm or NTC) dust, second is door inside, next two are after cleaning, last is a handy tool to take off window handle - get it at advance auto or borrow as I did. Will post pics when we paint but the rain and time does not support today or tomorrow.

image.jpgimage.jpgimage.jpgimage.jpgimage.jpg
 

kkcshipp

Member
130
-1
16
Location
Elizabethtown, KY
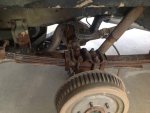
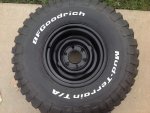
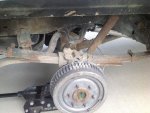
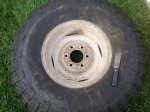
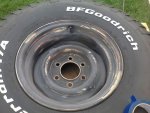
Wanted to show the caked up sand and mud that I think was keeping the rust away as well as showing the before, during and after photos of re-painting the rims black.

image.jpgimage.jpgimage.jpgimage.jpgimage.jpg
 

NovacaineFix

Member
662
1
18
Location
San Diego, California
Wanted to show the caked up sand and mud that I think was keeping the rust away as well as showing the before, during and after photos of re-painting the rims black.
Mine was the same way, dirt was repelling the rust away. I believe I washed away at least 30 lbs. of dirt that was packed up, in and around everything underneath. Looking good though
 

kkcshipp

Member
130
-1
16
Location
Elizabethtown, KY
Yeah I swept up the big cake piles but the other stuff I power washed out and my driveway was light sandy brown. We are getting some heavy rain right now so it's getting a free washing. ��
 

kkcshipp

Member
130
-1
16
Location
Elizabethtown, KY
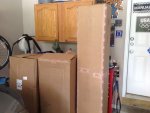
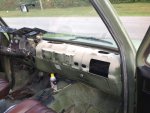
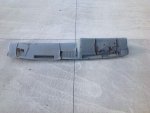
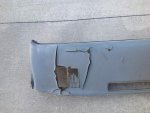
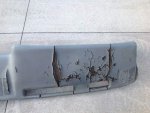
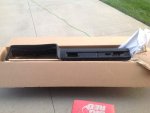
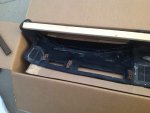
Started out trying to get the dash done. Mostly because my son was geeked up to do it. I went with the non-OEM poly replica in black. First you'll see what was behind it, second is how bad the dash looks after we got it out, and what the replacement looks like in the box. Ran out of light so final product tomorrow night.

image.jpgimage.jpgimage.jpgimage.jpgimage.jpgimage.jpgimage.jpg

Gotta use the hardware off the old one, wish us luck but looks good on an initial comparison.
 
Top