QUADJEEPER
Member
- 797
- 8
- 18
- Location
- Winter Springs, FL
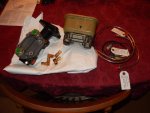
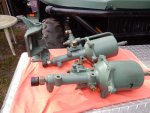
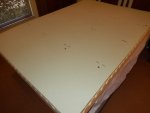
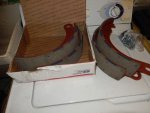
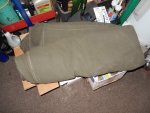
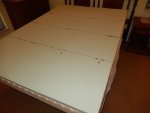
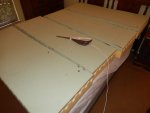
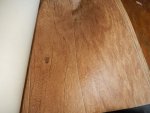
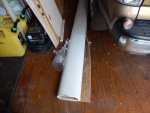
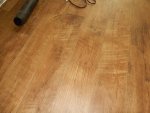
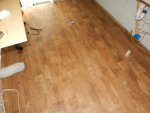
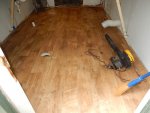
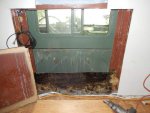
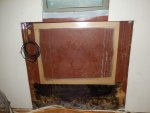
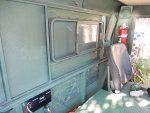
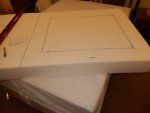
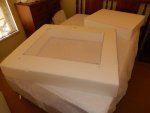
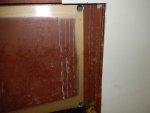
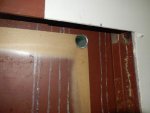
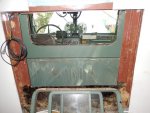
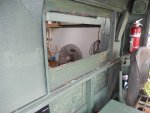
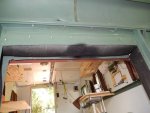
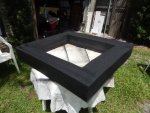
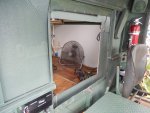
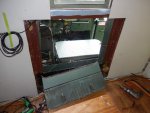
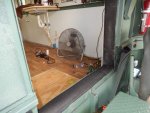
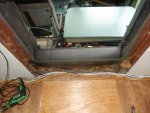
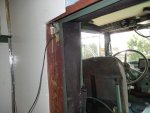
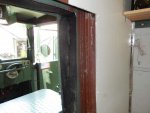
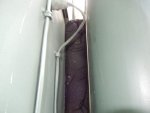
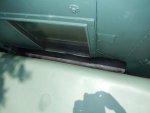
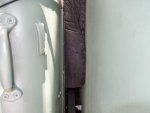
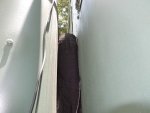
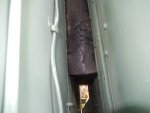
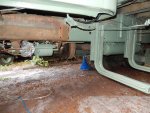
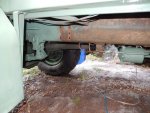
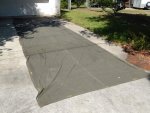
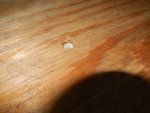
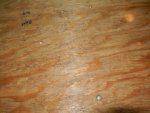
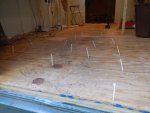
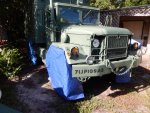
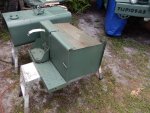
Got several small jobs done today. Figured with the new tires I'd better start covering them up from the sun, so I set up some tarps to shade them. Also finally got around to countersinking the floor screws per RAYZER. He said, and I agree that the screw heads would push up the vinyl floor covering. Hopefully picking that up this week. Also measured out my canvas for the booth seat cushions/bed so I can get it sewn on my foam. The rest of the canvas will be used for a storm cover around my rear deck extension, once that is built. Pulled the toolbox/step assembly so I can access the master cylinder bracket bolts, getting closer to swapping that over.
Attachments
-
 78.1 KB Views: 56
 -
 67.7 KB Views: 55
 -
 59.9 KB Views: 48
 -
 41.9 KB Views: 50
 -
 52.9 KB Views: 52
 -
 49.6 KB Views: 53
 -
 87.4 KB Views: 56
 -
 80.8 KB Views: 58