Daves86
Active member
- 139
- 82
- 28
- Location
- Manassas/VA
Steel Soldiers now has a few new forums, read more about it at: New Munitions Forums!

Pulling the control arm is a bear. Kudos to you.View attachment 829919
Added some shims to adjust the camber on a rear wheel that wasn't quite right. A little bit more work than anticipated but not too hard.
That looks like a lot more space between the body and frame than i remember. I dont recall removing a-arms when i removed shims. And, you can slide the shims in from the bottom.View attachment 829919
Added some shims to adjust the camber on a rear wheel that wasn't quite right. A little bit more work than anticipated but not too hard.
I added locking shackle's today. I should have added them 3 days ago but I'm always late.
View attachment 830513

Don't lose the key for that lock!I added locking shackle's today. I should have added them 3 days ago but I'm always late.
View attachment 830513
Can't believe you forced your burger to wear a mask. A little extreme, no?
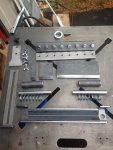
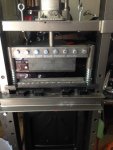
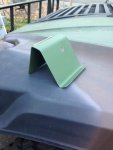
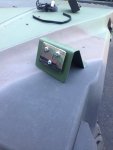
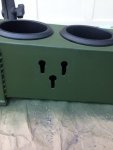
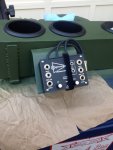
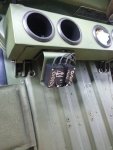
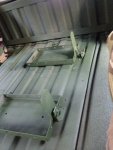
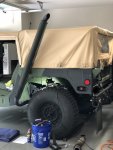
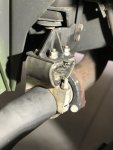
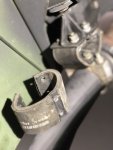
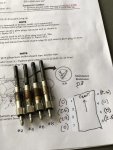
Good time to do a compression check...Installed a fording exhaust since a snorkel was already in place. Not too difficult of a solo job if everything is kept loose during the install prior to tightening to spec. Replaced the thermal exhaust insulation for the tailpipe hanger since everything was disassembled as the original one was dry and cracked. That part arrived flat and needed to be bent into place which was a bear. Three of the four bolts were installed without too much trouble but that fourth needed to be reversed in order to complete. Also removed four of the eight glow plugs (passenger side) in preparation for their replacement's arrival.
View attachment 831336
View attachment 831337
View attachment 831338
View attachment 831339
We get it, advertisements are annoying!
Sure, ad-blocking software does a great job at blocking ads, but it also blocks useful features of our website like our supporting vendors. Their ads help keep Steel Soldiers going. Please consider disabling your ad blockers for the site. Thanks!
