

mow***com
Active member
- 87
- 243
- 33
- Location
- Salt Lake, Utah
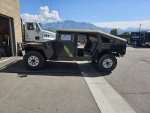
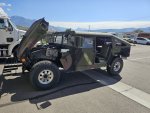
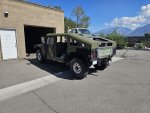
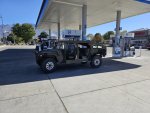
Another quick update....
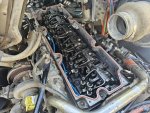
So, I have finally done the transmission gasket again and also the dipstick seal.
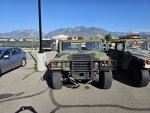
It is full of ATF and ready to start testing. The transfer case fluids have also been changed, along with both diffs.
The hubs still need to be done and the brakes bled.
Tomorrow, I will finish the fuel system(for now) and move along to check offs for first start up.
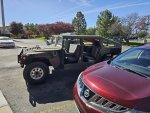
The other day, I did the filler hose and added a new filler surround.
So, no more leaks when filling it up. Today, I drained the fuel tank again and may do it one more time.
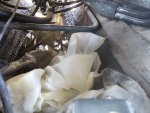
The fuel filter is back in, with new fuel hoses.
I am feeling good about the first start up. I just wonder how the first drive will eventually go.
For now, I plan to just run the engine up to temperature and see how it holds fluids.
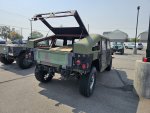
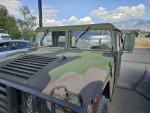
I did hurry and paint the hatch green. But, it isn't a match and will need to be painted again. There are already previous sanding imperfections and chipping paint that I didn't really care to address until next season.
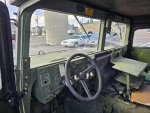
I decided to order the fixed windshield interior brackets, instead of making my own. Time is of the essence, maybe.
Same with the windshield surrounds. I ordered those, instead of drilling.
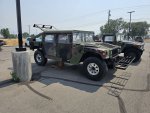
I plan to roll around without rear windows for a short period. At least until it starts getting colder.
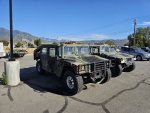
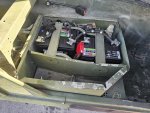
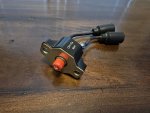
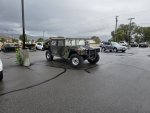
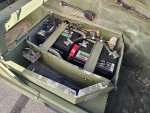
That is about it, at the moment. Still need to re check my grounds and wire up some batteries. I did wire up a keyed switch. I had zero problems with mine in the last truck.
Hopefully, Saturday or Sunday, it will run... But, I'll get there, when I get there. Haha.
So, I have finally done the transmission gasket again and also the dipstick seal.
It is full of ATF and ready to start testing. The transfer case fluids have also been changed, along with both diffs.
The hubs still need to be done and the brakes bled.
Tomorrow, I will finish the fuel system(for now) and move along to check offs for first start up.
The other day, I did the filler hose and added a new filler surround.
So, no more leaks when filling it up. Today, I drained the fuel tank again and may do it one more time.
The fuel filter is back in, with new fuel hoses.
I am feeling good about the first start up. I just wonder how the first drive will eventually go.
For now, I plan to just run the engine up to temperature and see how it holds fluids.
I did hurry and paint the hatch green. But, it isn't a match and will need to be painted again. There are already previous sanding imperfections and chipping paint that I didn't really care to address until next season.
I decided to order the fixed windshield interior brackets, instead of making my own. Time is of the essence, maybe.
Same with the windshield surrounds. I ordered those, instead of drilling.
I plan to roll around without rear windows for a short period. At least until it starts getting colder.
That is about it, at the moment. Still need to re check my grounds and wire up some batteries. I did wire up a keyed switch. I had zero problems with mine in the last truck.
Hopefully, Saturday or Sunday, it will run... But, I'll get there, when I get there. Haha.
Attachments
-
 3.9 MB Views: 26
 -
 4.9 MB Views: 30
 -
 3.3 MB Views: 30
 -
 3.6 MB Views: 27
")


 from the easy internet chair
 ......
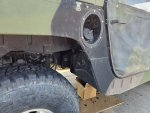
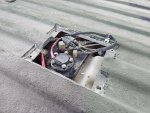
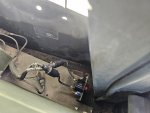
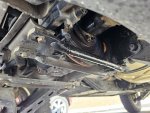
 Little things like this...sometimes overlooked, end up like the gouged out brake line. No finger pointing... CUZ I have seen it a few times.

 Sunday morning cartoons with, CAMO
.jpg")