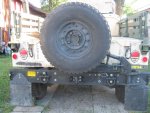
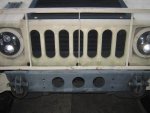
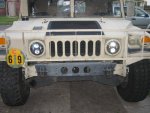
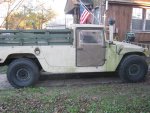
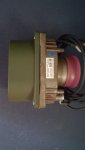
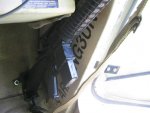
Right before the end of the year I went to Ft Riley, Kansas to pick up some GL goodies and also deliver a puppy in Houston. I was staying the night in Oklahoma City. On craigslist was a seller in Norman, ok selling hmmwv tires and rims. All flavors and rim styles. I settled on BF goodrich Baja "d' load range on 24 bolt even spaced black wheels. No need to worry about color or painting to match. They were like new. One tire was 100% other 4 were maybe 95% $1100 for all 5 mounted and ready to go. Not having to mess with run flats or assemble o rings and used valve stems was worth the extra price but I think $225 for like new 24 bolt bajas was a good deal. One of the selling points I thought was good is that he told me that unmounted tires could be a roll of the dice. He says he gets many like new un mounted tires with thorn and cactus holes in sidewall. Not exactly what I would run into LA but peace of mind that i was getting quality product with minimal labor on my part.
I picked up 4 24 bolt staggered load range E wheels for CsmDavis at $50 each with used orings and used valves which I thought was reasonable. Anyone in OkC or travelling through, I would recommend these folks.
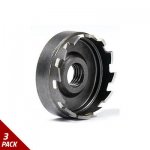
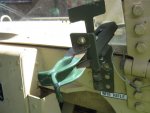
Local old school shop with someone I knew form my Western Auto Days in another lifetime balanced them for me. Surprise as one had beads! I left that one alone and made it my spare. Others balanced ok just using weights on the inside. I have a small fortune in lead when prices go up
")
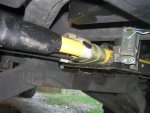
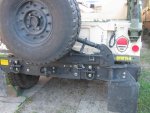
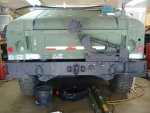
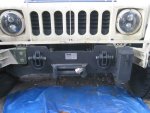
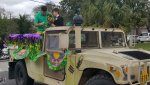
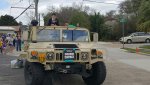
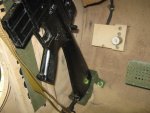
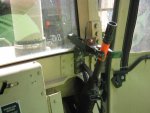
Torque to 100ft lbs and very pleased with traction and looks. One thing I noticed is that they are actually taller than the goodyear mtr radials. I know they are marked the same size but the bajas are about 1 1/2 inches taller. Nice extra boost to top speed. There is a million opinions on air pressure. The 5 I got ranged from 10-50lbs. Since I am not armored and will not be carrying anywhere that weight, I settled for 30psi front and 35psi rear. handles well, rides well and I think that air pressure will work for my driving.


 52.3 KB Views: 113