• Steel Soldiers now has a few new forums, read more about it at: New Munitions Forums!

  • Microsoft MSN, Live, Hotmail, Outlook email users may not be receiving emails. We are working to resolve this issue. Please add support@steelsoldiers.com to your trusted contacts.

M1008 Build

DIVE DIVE

Well-known member
217
778
93
Location
Chesapeake, VA
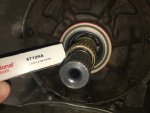
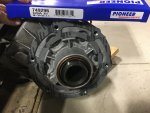
Got a new input seal on the transmission and a gasket for the rear adapter to t-case joint today. The transmission input seal is called an “oil pump seal” sometimes because it’s on the forward end of the oil pump, but the more intuitive name to me is input seal. The gasket for the t-case joint is not listed at the parts house so I just found a 6.75” bolt circle gasket. It’s a generic part but it is listed for a NP-208, just not for a 208 to THM-400.
 

Attachments

Last edited:

DIVE DIVE

Well-known member
217
778
93
Location
Chesapeake, VA
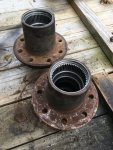
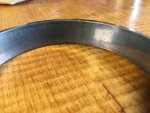
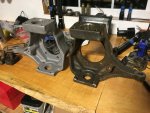
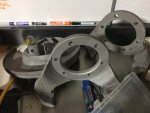
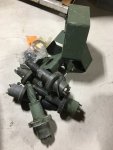
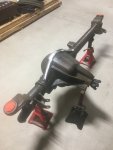
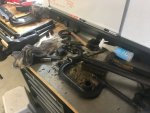
Got some more work done on the front axle today. Separated the hubs and rotors and took a good look at the bearing cups. Wasn’t happy to see the inner bearing cups (driver in particular) damaged. I did note that the inner hub nut was much too tight as well, when I took them off. The wheels had zero end play, and were torqued on for some reason. I also noted this when I was wheeling the front axle around by the leaf springs but didn’t think much of it at the time. Bottom line is that the front bearings were significantly over torqued. Can’t imagine the heat that must have generated. Its almost like some sort of electrolysis took place between the cup and cone. Anyways, adding to the list of parts to replace.
 

Attachments

Mullaney

Well-known member
Steel Soldiers Supporter
Supporting Vendor
7,776
19,903
113
Location
Charlotte NC
Got some more work done on the front axle today. Separated the hubs and rotors and took a good look at the bearing cups. Wasn’t happy to see the inner bearing cups (driver in particular) damaged. I did note that the inner hub nut was much too tight as well, when I took them off. The wheels had zero end play, and were torqued on for some reason. I also noted this when I was wheeling the front axle around by the leaf springs but didn’t think much of it at the time. Bottom line is that the front bearings were significantly over torqued. Can’t imagine the heat that must have generated. Its almost like some sort of electrolysis took place between the cup and cone. Anyways, adding to the list of parts to replace.
.
That's sad. Some folks just never were told about heat expansion. Tight is nice until a little expansion freezes everything up... I guess the good news is that you found it before you found yourself on the side of the road.
 

DIVE DIVE

Well-known member
217
778
93
Location
Chesapeake, VA
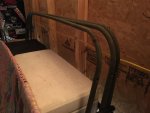
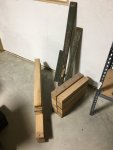
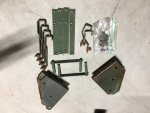
While cleaning up the shop this weekend I located and consolidated the parts for the troop seats and cargo cover. It’ll be quite a while before getting to this stuff so I stored it upstairs and out of the way.
 

Attachments

DIVE DIVE

Well-known member
217
778
93
Location
Chesapeake, VA
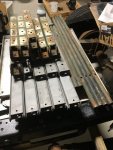
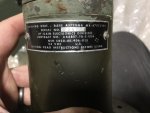
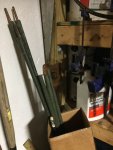
I also consolidated all my antenna parts. Not sure if I’m going to be using any of this stuff though. I’m sure there is a way to utilize the antenna for a radio signal like VHF or CB with some modification.
 

Attachments

dougco1

Well-known member
Steel Soldiers Supporter
869
649
93
Location
Cooperstown NY
I also consolidated all my antenna parts. Not sure if I’m going to be using any of this stuff though. I’m sure there is a way to utilize the antenna for a radio signal like VHF or CB with some modification.
Save them parts, they are getting much harder to find.
And yes, with a little modification you can get a CB to work with what you have.
The biggest issue is not many people use CBs like they did back in the 70s. You can talk all you want but no-one's listening.
 
Last edited:

DIVE DIVE

Well-known member
217
778
93
Location
Chesapeake, VA
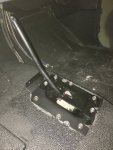
Was able to get some painting done today and actually reinstall some parts, which was nice. Lately it seems like there are more parts laying around than there are on the truck. Here is a shot of the exhaust hanger I did as a trial run. It turned out pretty good. I realized, though, that there is no reason to re-weld the spot welds on the rubber mount portion since there will be a bolt there clamping everything together. The remaining 4 hangers will not be getting welded back together, just bolted. Got the transfer case shifter all painted, lubricated, and reinstalled as well.
 

Attachments

DIVE DIVE

Well-known member
217
778
93
Location
Chesapeake, VA
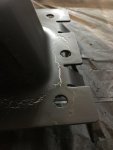
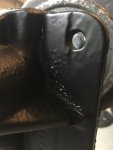
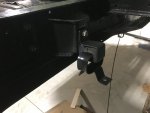
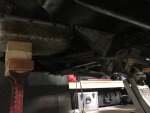
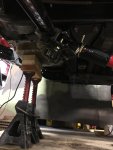
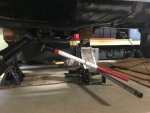
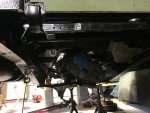
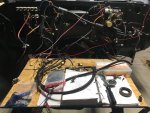
I was able to get the transmission and transfer case reinstalled today along with the cross member and skid plate. I realized when I was reinstalling the cross member that it appears as though, at some point, the truck was moved with a fork lift. This is common on “junk yard” vehicles and is typically evidenced by driveshaft, transmission, rocker panel, and exhaust damage. Both sides of the frame where the cross member attach were bent inward and upward just slightly. It looks like the cross member was supporting the entire weight of the truck at some point in its life. It was about 3/4” narrower than it should be, so when I tried to reinstall the cross member I had to use my hi-lift to spread the frame rails out slightly in order to get the bolt holes to line up. I don’t know how I missed that on disassembly. A contributing factor is that there is quite a long ways between the front engine cross member and the main rear cross member, with only the rear cab cross member in between, which is all the way at the top of the frame. It was surprisingly easy to manipulate the bottom of the frame rails to flex out to get the holes to line up and then they dropped right in. The last picture was my attempt to show the transmission installed from the front engine bay, but all the pictures are a little dark. Never mind all those wires everywhere aua.
 

Attachments

DIVE DIVE

Well-known member
217
778
93
Location
Chesapeake, VA
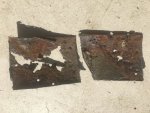
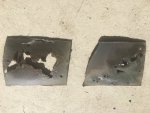
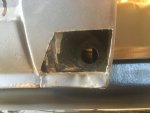
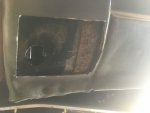
Decided to see how bad the cab corner rust was today and found that it’s not significant but I’ll definitely need some patch panels. It always gets worse once you start poking around! Saving this project for later but wanted to see what was in store for me.
 

Attachments

DIVE DIVE

Well-known member
217
778
93
Location
Chesapeake, VA
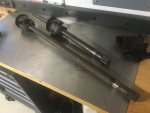
I started to install the new dash and old instrument panel this weekend. I had a lot of trouble with the dash and decided that I needed the window rubber installed before I install the dash because I didn’t want to get everything set and drill the new holes in the dash pad just to find out that I had it rotated too far and it would interfere with the window rubber. Which leads to the next problem: I then realized that I can’t install the window rubber until I paint the exterior. So now I’m thinking that I can’t final install the dash until I do the exterior paint and get the window in. Bummer. It’s gonna be several months before I can get the exterior paint done. So I moved on to a few other things. I was able to piece together a spare front stub shaft u joint and did some more work in the blasting cabinet on the ventilation fan housing. Also we got the front leaf springs disassembled and pre-cleaned. I think the stock suspension parts are going to be going back in until I can get the Off-road Design parts approved in the next budget extension.E595CB7A-928D-4734-B48D-25BAA060B9A3.jpeg
 

Sharecropper

Well-known member
Steel Soldiers Supporter
1,840
990
113
Location
Paris KY
Is your blasting cabinet that big? If so I am a little jealous. Also please expand on the 35 spline upgrade. I also understand ORD offers outer axle seals. If I ever get back into my front D60 I will clean the inside of the axle and install those. Great work!
 

DIVE DIVE

Well-known member
217
778
93
Location
Chesapeake, VA
Is your blasting cabinet that big? If so I am a little jealous. Also please expand on the 35 spline upgrade. I also understand ORD offers outer axle seals. If I ever get back into my front D60 I will clean the inside of the axle and install those. Great work!
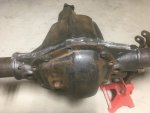
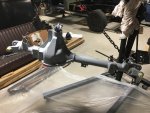
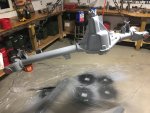
No I didn’t get to blast the axle. I’m actually just borrowing my friends Harbor Freight cabinet, so I was able to get all the other parts into it like the hubs and steering knuckles. For the housing I first pressure washed and degreased, then wire wheeled it and finally sanded with 220. Acetone prep and then primered with Rustoleum. I won’t be doing the final paint until we get another warm spell.

The 35 spline upgrade is merely a new stub shaft that is larger, stronger, and has 35 splines on the lockout vice 30. It’s a solid upgrade, but you also have to change the lockouts because the female splines on the lockout have to then match the new 35 spline stub shafts. Yukon makes all the parts I’ll need

I’m not overly concerned with breaking the axle shaft stubs but it is possible under certain circumstances so an upgrade is in order. Assuming the engine can make 300 lb-ft (doesn’t actually make that much) of torque and with a 2.48 first gear ratio, 2.61 4 low ratio, 4.56 differential ratio, that means that theoretically the axle could see roughly 8,854 lb-ft of torque, which is more than the smaller diameter stub is rated for. When you factor in a 37” diameter tire, steering angles, vehicle weight (shock load potential), and some more fudge factor engineering stuff, it is absolutely possible to break these with even the “weak” ‘ol 6.2 naturally aspirated Detroit diesel.

I will not be reinstalling the outer axle seals that were in there from the previous owner. I know they are available, but I’m not a big believer in them for the Dana 60 axle. They are just not necessary in my opinion, and they hold water inside just as well as keeping water out. I find that most proponents of them are using them as a temporary solution to an inner axle seal leak because they don’t want to remove the carrier and replace the inner seals.
Thanks for the questions and have a great weekend!

Stub shaft part number is YAW46100 (need two)
Spicer U-joint part number SPL55-4X (need two)
Yukon 35 spline lockouts YHC70001 (comes as a set)
 
Last edited:

ZmanSC2o2I

New member
6
14
3
Location
SC
While cleaning up the shop this weekend I located and consolidated the parts for the troop seats and cargo cover. It’ll be quite a while before getting to this stuff so I stored it upstairs and out of the way.
Still have the cover and frame? let me know if you are interested in selling. PM me please.
 
Top
AdBlock Detected

We get it, advertisements are annoying!

Sure, ad-blocking software does a great job at blocking ads, but it also blocks useful features of our website like our supporting vendors. Their ads help keep Steel Soldiers going. Please consider disabling your ad blockers for the site. Thanks!

I've Disabled AdBlock
No Thanks