- 897
- 1,370
- 93
- Location
- Rhein-Main Area, Germany
Steel Soldiers now has a few new forums, read more about it at: New Munitions Forums!

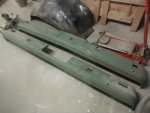
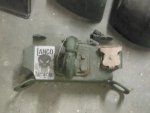 I used a dust brush just to make sure it was a clean rust-free hitch assembly.
 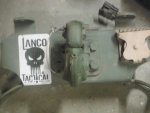 Looks much better. And I still have the OEM inner fender aprons that came on this truck from new. they have been powder coated and in the barn for 20 years.
  A little soap and water and they will be good as new. I was measuring the body to frame to get the body mounts tightened. the hood gap looks great, and it needs to stay that way till I get everything tightened down. I was doing some other non-vehicle related work today after my job, so I am happy to just get parts together. time well spent while I had a friend here to hand them down from the second floor of the barn. I will be using all new fasteners for attaching the bumpers and bumper braces. Beats the PITA old rusty stuff that you get a 1/4 turn on and it binds. Even clean used hardware gets the job done. I promised NOT to use the 5/16" torx bolts on this job. Even if they are easier to work with and get the job done. Take care. Thank you for the support. Negative support is always welcome also. It helps keep the haters happy.
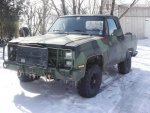
 It was just as easy to refurbish used rusty parts and smarter then repainting nice clean unrusty parts. In the end they were both nice.
 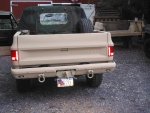 Take Care and Be Safe.
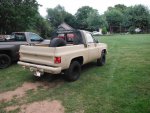
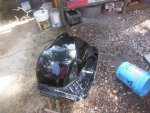
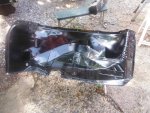 It is a bit glossy, but I think it looks great.
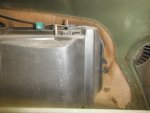
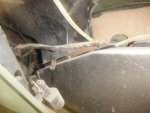
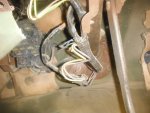
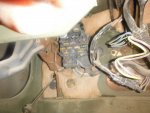

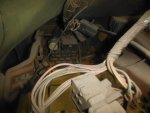
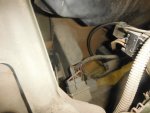 Look what I see an OEM starter relay. Worked all these years without being cut out and replaced. Imagine that. That darn thing works.
 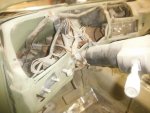 The brushed in CARC has been the killer on this project. Now this. Take Care. I have managed to waste another day on going backwards on my project. That's fine. Time is on my side. Doing it right the first time is critical. Imagine that Barrett Jackson was just in Harrisburg 2 weeks ago and my M1009 was not ready.
PM sentsezzo refresh I have a PM sent to you.
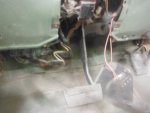
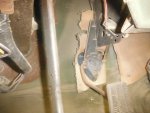
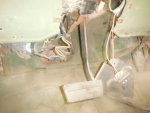 A family of mud dabblers must have thought the accelerator pedal would be a great place to set up house.
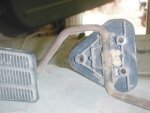
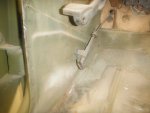
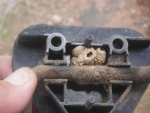 Unbelievable. You must check everything. No stone unturned. Dust and dirt were coming out of the body as I impacted the bolts tight on the frame. Not a lot but it is still in there in every nook and cranny. I will scrub the base for the accelerator and lube it up. Here are some overall pictures of the inside.
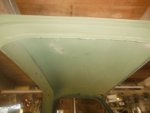
 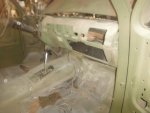 That is all dust on the dashboard. The overhead area is not perfect but dent and rust free.
  The gun area is clean and will need scuffed lightly for paint.
 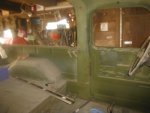 The firewall insulation basically broke to pieces, and I discarded it.
 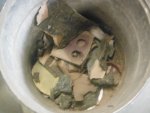 I must remove the heater box to get the insulation completely out of the cab. I used GM Dex cool antifreeze when I was working on the truck years ago. It still looks clean, and I guess it is time to change it. While I am there I may as well add a block heater. Take Care. I will get back on task again. Maybe not today but soon. Be Safe.
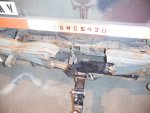
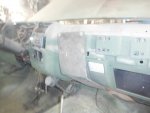
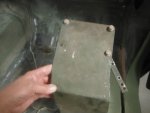
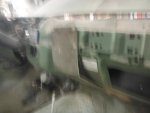 It is a heavy-duty anti ashtray using bracket. I don't like the smell of cigarettes so I would put this in place, so you don't smoke in a CUCV. Strange, curved cut. I am sure it goes for some winterization kit or something. Cool bracket.
  OK. Back on task. Heater box.
  The Black Hole.
 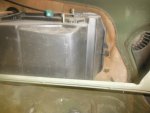 Thats better. I had this out when I bought the truck, I changed the heater core just to change it. It still has an OEM brass/copper unit in it. Not that I cared I used many aluminum heater cores with the same results it throws heat and don't leak its good. Heater box out.
 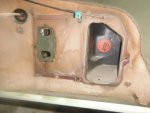 Insulation all out and trashed.
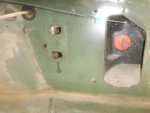
 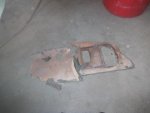 The firewall is dusty clean. Nice with a nice coat of paint and no rust. Looks good. I sprayed it with DX330 wax and grease remover. It looks great. I will clean the entire dash area. Again, I blew compressed air under the dash and dirt came out. Not as much with the insulation gone. Nice thing was I found no mice nests.
It is yours. I stored it for the past 25+ years and came across it during a few searches. Over winter I am going to do more organization to my parts. It is never ending and I must follow thru putting things away as I acquire them and as I disassemble vehicles. The last parts CUCV I have is basically a frame and axles. So the disassembly part is over. I do have a few M1010 bodies with many parts that I haven't even scratched into yet. The ashtray block off plate was just a fast guess and humor on US government expenditure. I would not put it past them. Take Care.Great Progress. The bracket is part of a radio equipment. NiceI like military radio equipment as you know. Don’t scrap it. It is a hard to find item. Take care.
Been looking for the whip antenna mount. Any ideas? Mine is missing and I don't like holes in my truck.It is yours. I stored it for the past 25+ years and came across it during a few searches. Over winter I am going to do more organization to my parts. It is never ending and I must follow thru putting things away as I acquire them and as I disassemble vehicles. The last parts CUCV I have is basically a frame and axles. So the disassembly part is over. I do have a few M1010 bodies with many parts that I haven't even scratched into yet. The ashtray block off plate was just a fast guess and humor on US government expenditure. I would not put it past them. Take Care.
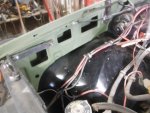
 I dug out some wire harness retainer clips and cleaned them up and installed the headlamp wiring harness to the left inner structure of the fender.
 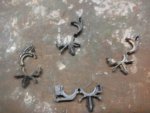 There are some parts on the stock CUCV that cannot be found anywhere.
 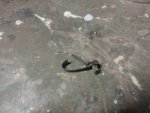 This nylon hood release cable retainer is one of them items that I substitute a metal insulated P clip.
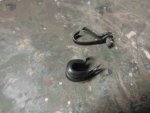
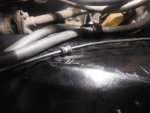 Also the metal oil cooler lines had a steel bracket that bolted the hoses to the left inner fender apron. I have seen these over tightened and I could not locate one of these brackets after looking for hours. I went to an alternate bracket. The double hose bracket I chose was a hose bracket from a newer Freightliner truck. I have a lot of them my son gave me.
 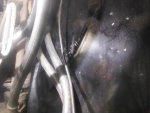 One bolt to attach the bracket just like the OEM bracket and this one cannot be over tightened. Next, I moved onto the front bumper braces.
 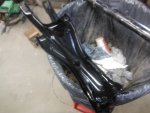 They are frame mounted with 2- 7/16" bolts on each bracket. I had these powder coated in 1997. They have been stashed in my barn. Reassembly is good at this point. I am moving lots of parts and that is a good thing. It is like cleaning up and making room. If things go well, I plan on painting a few green items in the next few weeks. Also next to the bumper braces is a rebuilt front driveshaft. I am not taking any chances with this lateral play issue I discovered while pulling myself under the truck on a creeper. When I greased it, the play is gone. I don't like questionable issues. I have the parts I will use them. Have a Great Day.
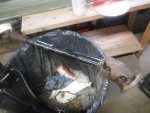 Washer bottle and wiring harness properly secured.
 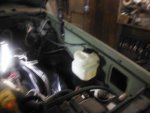 Right inner fender
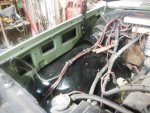 And I replaced the wires from the resistors and removed the resistors so I could check them for mud and insect nests. They are clean and I reinstalled them with a new wire from the left side.
 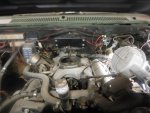 I dug up some right inner fender structure battery brackets.
 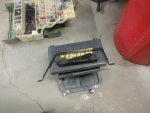 I have them installed and used new flange lock nuts.
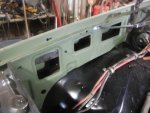
 I will keep rolling on this project as time permits. Take Care and thank you for the positive support. And negative is also welcome. I am slow and that is what makes it my hobby. I can multitask all my life.
