- 5,277
- 4,128
- 113
- Location
- Charleston, WV
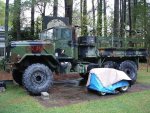
I made an early AM parts run to John Winslow's today. I picked up the last important bits to get my truck legal and road-worthy for Aberdeen. Well, except for the windshield glass and I'll get that from the local auto glass place.
I picked up the following:
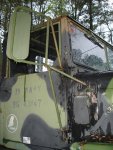
- New bumper to replace my bent one
- Used tailgate to replace the mangled one that won't close
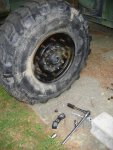
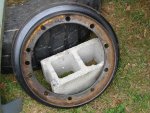
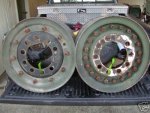
- New valve stem
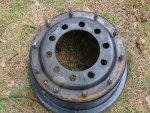
- New wheel o-ring
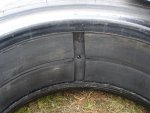
- 50% used tire
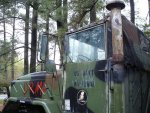
- New Wiper motor to replace the one I snapped the shaft off of
- West Coast mirror kit
- 2 door hinges
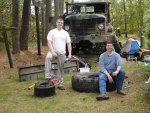
That should just about do me for parts I think. Now I just have to put them all on. Work party at my house this weekend")
I picked up the following:
- New bumper to replace my bent one
- Used tailgate to replace the mangled one that won't close
- New valve stem
- New wheel o-ring
- 50% used tire
- New Wiper motor to replace the one I snapped the shaft off of
- West Coast mirror kit
- 2 door hinges
That should just about do me for parts I think. Now I just have to put them all on. Work party at my house this weekend