goldneagle
Well-known member
- 4,738
- 1,509
- 113
- Location
- Slidell, LA
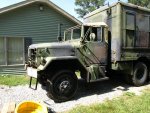
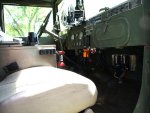
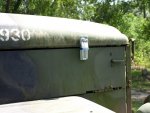
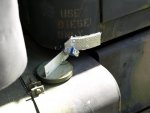
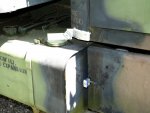
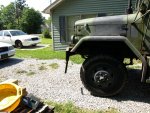
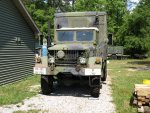
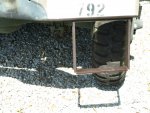
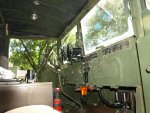
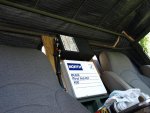
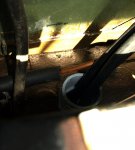
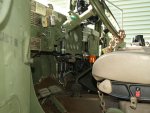
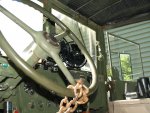
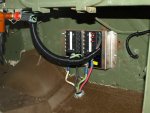
Here are the pictures I promised......
Attachments
-
 93.8 KB Views: 111
 -
 87.4 KB Views: 114
 -
 59.2 KB Views: 104
 -
 65.7 KB Views: 109
 -
 80 KB Views: 99
 -
 57.8 KB Views: 103
 -
 65.4 KB Views: 97
 -
 69.4 KB Views: 91
 -
 62.6 KB Views: 113


") But Im a little sad even though I saved a ton of money by loosing that I still have no truck
But Im a little sad even though I saved a ton of money by loosing that I still have no truck