ABN173
Active member
- 1,842
- 11
- 38
- Location
- FT Bragg, NC
Peter, yes a PM works better than posting here. (less of a chance I might miss it)Do you want a PM on the shirts? P
-Dale
Steel Soldiers now has a few new forums, read more about it at: New Munitions Forums!


Peter, yes a PM works better than posting here. (less of a chance I might miss it)Do you want a PM on the shirts? P
") Going to be a busy month fr the Hendersons.
Going to be a busy month fr the Hendersons.
Sorry you are not going to make it!!!! I was looking forward to meeting all the PNW steel soldiers!!!!if any one from the east side is going up and has a little room, im trying to get a motor and trans to reo 54. I will not be able to make it due to conflicting training schedules but would be willing to compensate someone for the effort.
i can model them...
I can model them...
Oh believe me, I did. I wanted to do these last year but I simply was not prepared. Work was too busy with deployment train up.Wow Dale, that is quite an undertaking. I had no idea of the preparation needed for this. Thanks!
I can...lolI so cant wait to model them...
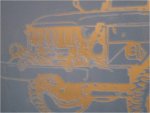
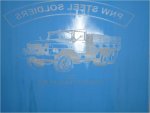
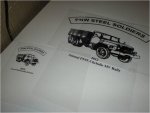

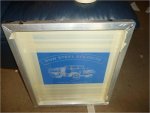

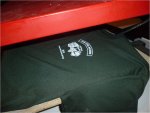
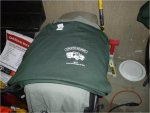
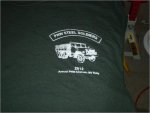
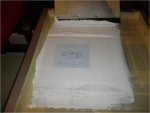
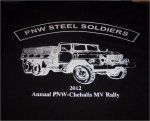
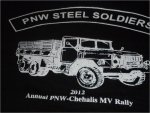
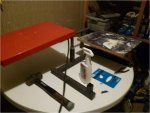
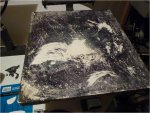
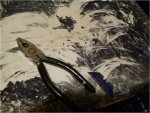
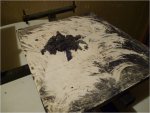
Well Thank you Mike, the white on black turned out excellent! Also found out why a couple had a shadow image, seems I did not do a PMCS on my system. A few bolts had to be tightened up a bit. No more issues now.Looks outstanding Dale.