- 8,698
- 3,205
- 113
- Location
- Monrovia, Ca.
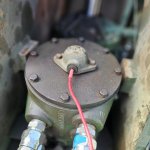
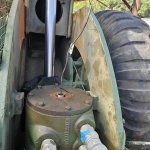
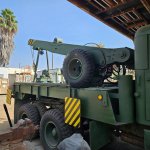
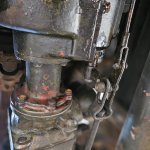
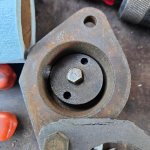
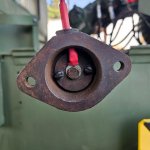
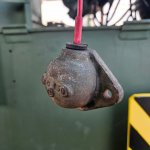
So, today was another productive day. Didn't start that way, but was a win at the end! The boom indeed leaks down. First order of business after trying to repair an ultrasonic cleaner, was raising the boom and installing a new seal under the electrical slip.
We got a seal late last Wednesday. After fighting the freekin' thing for 30 mins, NOTHING has been a walk in the park on this, finally got it peeled out. Got the bore cleaned up, installed the new seal, and it fell into the bore. I even gave the people the CR/SKS part number with measurements, and they STILL got it wrong!. Made a call, gave them the number and dimensions again, and 10 ins later they said they had it. Drove over to them, thankfully only a mile, armed with calipers, and the seal was correct. Drove back, and the seal went in properly.
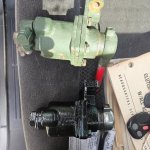
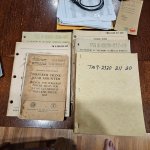
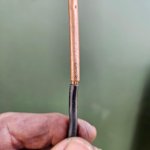
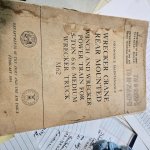
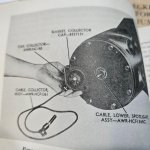
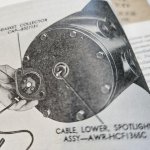
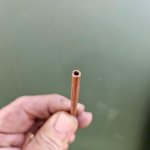
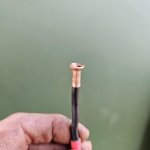
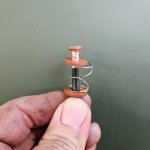
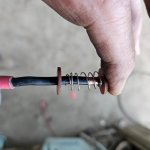
I also browsed thru the TM for the crane, reminds me, need to see if it is here and if not, make a PDF, and saw that the electrics connection through the center is a slip, not a couple of wires with ring terminals, Nat'l Guard strikes again! Decided to make my own. I used a copper pipe that fits nicely over the #10 wire through the center, modified some fiber washers to accept the #10 wire and made a flared wire end so as not to find it's way out of the fiber washer. The original spring I didn't care fore because the OD was too close to the metal center. Ended up making a spring out of some of the stock we have that was smaller OD and I closed the ends so the spring holds onto the wire. I think it came out good. We shall see in the future.
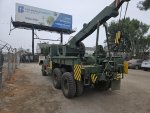
After that was remedied, we un wound the rear winch. One of the volunteers tha comes in on the weekends took the level wind apart, lubed it all up, fixed the too long bolts installed in it, and made it work smoothly. We hooked it to the forklift and, from the cab because the rear de-clutching stuff is still non-op, wound the winch in, nice and neat, to the fairlead and STOPPED, unlike the other operator before us, locked the tensioner, installed the chain on the new cable end and put it in place.
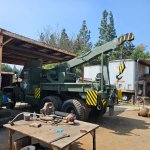
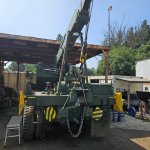
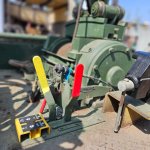
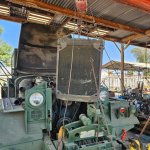
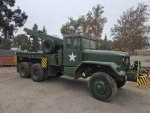
Next came the crane. Got all the controls in place, fired the 6602, rotated the crane to center, installed the travel braces extended to the longest position, lowered the boom into place and secured it to the bed with the pins. We found a 1/2 rope bridal for the hook, installed it and put a bit of tension on the cable. We also topped off the boom winch gearbox, it was apx 1/gallon low.
What's left is to lube the wrecker body, all of the zerks, lube all of the under body stuff for the rear, finish hooking up the de-clutching linkage, remove the throttle cable and try to free it up. If we can't, I have a vernir cable that is long enough that I might be able to make it work. Check the t-case and trans oil levels and install the covers over the control valves and swing stuff.
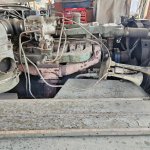
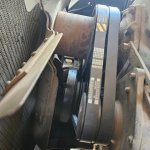
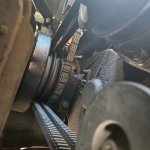
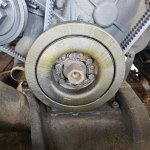
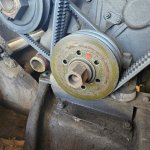
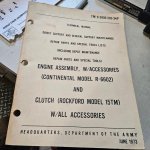
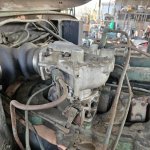
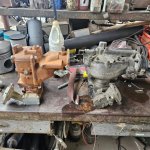
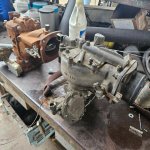
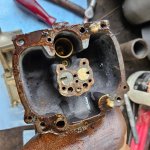
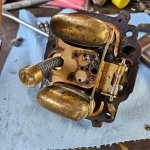
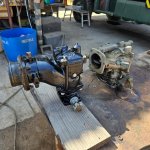
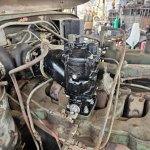
For the truck, there is a pretty good oil leak at the front. Not coming from the seal/cover, but out of the front of the damper. I believe it is wicking out the keyway in the adapters. The radiator will need removing to tackle this. WAY easier than the crane stuff and up my alley! Install the Stromberg carb I got a while back, we THOUGHT the Holley on it was finem but is crap. The engine smoked black and blubbers on start up and runs bad. IMHO a fuel issue, plus it uses a bunch of fuel. Everyone has said the Holley is junk, and now I believe them!
We still need to order a ft winch shear pin, do a fluid change on the winch, un soppl the ft winch and re wind it neatly, again, unlike the prior operator did.
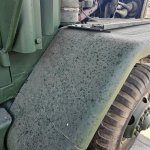
We want to add stencils. We will do the normal TP, and stuff. I wiuld like to find pictures of one of these from the 70's, this truck was OVH'd at TEAD in '73 or '75, and mark it up like that.
The brakes are still good too! Maybe after it is all done, i'll give it a spin around the block!


