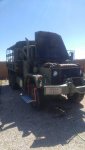
MudMarine
Member
- 117
- 15
- 18
- Location
- Jacksonville NC
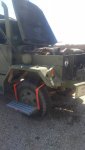
- Repacked front bearings
- Repacked passenger rear and intermediate axle wheel bearings
- Greased trunion bearings
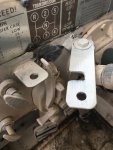
-Upgraded the AVM hubs
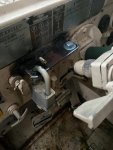
-Replaced front brake lines
-Replaced passenger side airpack to fix our leak. (AirForce dual system truck)
- Oil and filters
- Fuel filters
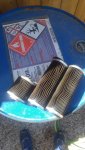
- Air filter
- Trans oil
- T-case oil
- all 3 diff oil
- one wheel cylinder (so far)
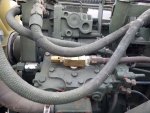
- Replaced leaking air tank (previous patch still holding though!)
- Installed side pull drain valves
- Replaced lower radiator hose
- Replaced batteries with new military ones
- aaannnd I'm pretty sure I'm forgetting some more stuff while I sit here because I'm tired from working all week!
Still got plenty more to go!


- Repacked passenger rear and intermediate axle wheel bearings
- Greased trunion bearings
-Upgraded the AVM hubs
-Replaced front brake lines
-Replaced passenger side airpack to fix our leak. (AirForce dual system truck)
- Oil and filters
- Fuel filters
- Air filter
- Trans oil
- T-case oil
- all 3 diff oil
- one wheel cylinder (so far)
- Replaced leaking air tank (previous patch still holding though!)
- Installed side pull drain valves
- Replaced lower radiator hose
- Replaced batteries with new military ones
- aaannnd I'm pretty sure I'm forgetting some more stuff while I sit here because I'm tired from working all week!
Still got plenty more to go!


.jpg")
")