Guruman
Not so new member
- 494
- 1,076
- 93
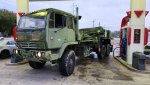
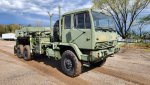
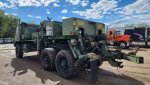
- Location
- Cody, Wyoming
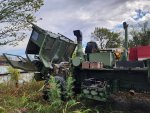
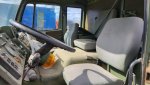
Started stripping the cab... out with the old seats, gunners platform. a bunch of radio wiring, and a weird aluminum plate bolted t the floor behind the passenger seat.
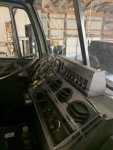
Scraped off the old floor covering. man whatever the green stuff they painted the floors with, is some good stuff. Looks like it's been coated a couple or more times, but only the green goo stuck.
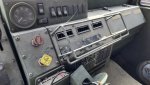
I stripped the back wall, and recovered the rear side panels and the rear wall in vinyl to match the new door covering.
I'll be spraying in some Al's sound and heat shield this week, and once it's cured, I'll be hitting it with more stick on asphalt sound deadener sheets, and some rock wool insulation in the cavities.
hoping to get this cab sorted before the cold sits in.
Scraped off the old floor covering. man whatever the green stuff they painted the floors with, is some good stuff. Looks like it's been coated a couple or more times, but only the green goo stuck.
I stripped the back wall, and recovered the rear side panels and the rear wall in vinyl to match the new door covering.
I'll be spraying in some Al's sound and heat shield this week, and once it's cured, I'll be hitting it with more stick on asphalt sound deadener sheets, and some rock wool insulation in the cavities.
hoping to get this cab sorted before the cold sits in.