cucvrus
Well-known member
- 11,478
- 10,507
- 113
- Location
- Jonestown Pennsylvania
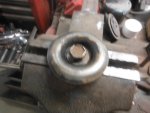
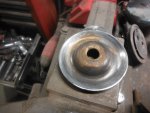
No pictures. But it did happen. I managed to get the fenders aligned and properly shimmed. I still have the body semi floating on the frame as the cab mounts are all loose. Next up I will be getting the hinges and hood reattached and aligned. Being that I had the body lifted from the frame all the body mounts must be loose until I get the hood aligned. I do know one thing. These old vehicles have terrible fitting body panels in comparison to the new vehicles. I am using all OEM Genuine GM sheet metal. I remember working back at the GM dealer in the 70's and 80's and the terrible fit and finish on all vehicles. Corvettes were some of the worse. Last night I spent 2 hours getting the fenders properly shimmed and tight. I could half fast it but I see to much of that. Good things take time. and my thought is as long as the M1009 is in my shop on jack stands the longer it will survive after the "Built in a Barn" process is complete. Many side jobs get in my way and work has been very busy now that some of the supply issues are being addressed. Last night I took my Wife on an expensive date. We went to the gas station and filled our vehicle with gas. Take Care and Be Safe. Be Nice to others.
Last edited:


")