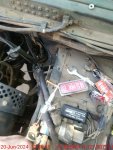
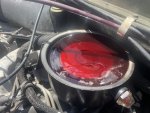
Fine small files and 200 grit sandpaper. Dilute Muriotic acid. New brushes.
I’m certain you’ll do a great job of it.
Please shoot some pictures.
brushes themselves are in excellent shape, and 2 of them are soldered directly to a bar, so a little difficult to replace.
a before picture. I had already freed up some of the brushes. The brush on the top is the position all of them were stuck in when disassembled.
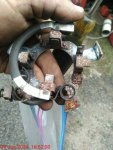
and another angle
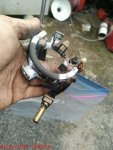
plastic container with muriatic acid. It only took a few minutes to get most of the rust off. I also used a small file as well, then soaked again, and finally rinsed off then used electrical contact cleaner to remove the water. After that was about 3 minutes in the air fryer set on "dehydrate" which is 120 degrees heat, and it was completely dry.
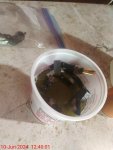
a lot cleaner, but not perfect. This was after the first 5 minute soak in the acid. I checked and muriatic acid (diluted hydrochloric acid?) will dissolve copper, so I was being careful.
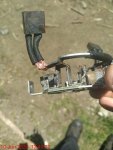
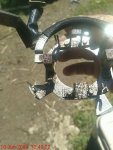
reassembled the brush assembly and back in the motor case
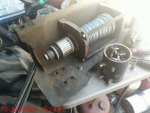
The hardest part was getting all the brushes pushed into their holders far enough to slide it on. I ended up using 2 small screwdrivers to hold 2 of the brushes, and used my hands for the other two. I still felt like I needed more hands.

That was all the pictures I took.
The rubber o-rings they use to seal up the motor assembly are a joke. Maybe a little over a millimeter diameter. The one on the drum end was just supposed to sit in a wide groove for the motor assembly against the case and didn't have an actual groove that I could see, so I used some sealant there instead. Just enough that it barely pushed any out when tightened down. The other end had a small groove, and didn't appear to have any moisture intrusion past it so I reinstalled as is.
I also took off the cover for the gearing and checked it out; no signs of water, but it was also closed with 8 small bolts and a real gasket. The aluminum of the case is corroding around the screws (stainless screws and aluminum don't like each other much) so I cleaned the powder a bit, and used some marine anti seize on the machine screws during reassembly.
Anyway, it's back assembled and worked how it was supposed to, but now have a new project to work on; the driver's side front brake caliper mounting bracket is loose and needs tightened down, like I've had to do with the other 3 (so not unexpected) as well as brake pads for both front brakes (I have all the parts, just not the ambition. Need to get it done in the next week and a half before I take it on a trip.
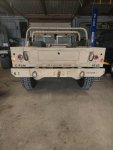
Here was the install thread for the winch if anyone was interested
EDIT: I'm doing this mostly because I haven't seen much of anything about doing this type winch with the milemarker plate. Most of what I read basically stated that you either need the A2 plate and the extensions to do an electric winch, or other stuff like that. Figured I'd document what I...
www.steelsoldiers.com


