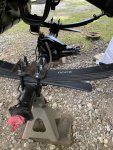
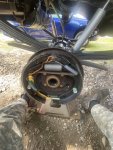
Todays struggle in the heat. Today I was setting my goal at getting the gate back on and fitting. I have failed. This gate was never right since I received the vehicle to work on it.

The gate is on and in place. That is about all I will say.

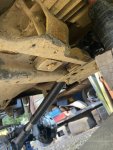
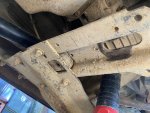
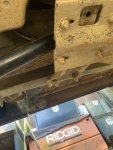
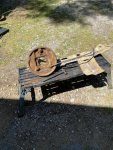
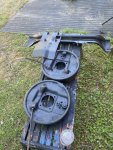
I have the left side Dring brackets, and the outer braces installed.

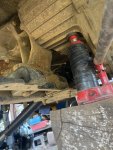
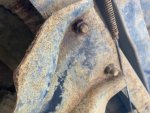
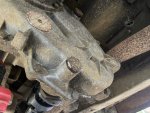
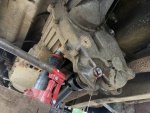
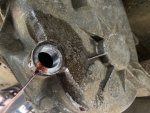
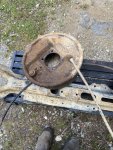
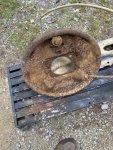
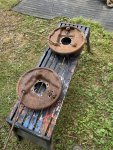
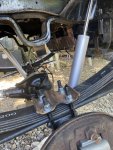
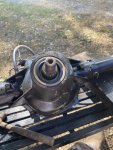
I also have the right side installed. I had a hard time trying to figure out what the issue is with the torque rods. I came in the house and pulled out an old Mitchell collision manual from 30 years ago and think I figured it out. I think the gate has Suburban torque rods in it. I looked up same vintage parts and Blazer and Suburban have different part numbers. Not an easy fix but fixable. I looked up used torque rods online for 1973-1991 Blazer Jimmy and they are $197.00 a set used. I think K5 gate parts are crazy priced.

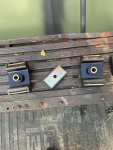
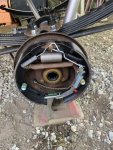
The M1009 has the alignment strikers. The old 1970's gate has no alignment strikers or guides.

That is not a huge deal, but the torque rods are a huge deal. I need to get a pair and install them to keep moving. Hacked up vehicles sure can cause an issue and time spent trying to correct these issues adds up quickly.


I think I have it figured out. I will fix it next time I get to work on it.

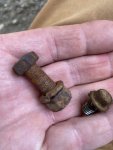
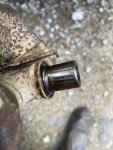
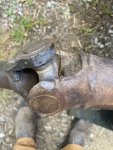
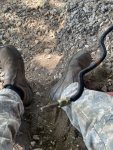
I found this in the dirt where I was working. #2 Phillips bit. Take Care and Stay Cool and Safe.


 92.6 KB Views: 17
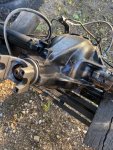 145.1 KB Views: 19
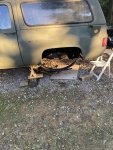 143 KB Views: 19